What is HDR (high dynamic range)?and how to shoot?
Have you ever noticed that when taking landscape or architectural photos, we can never handle the difference between the brightest and darkest parts of the image? The core of photography is capturing light. If we can't even handle highlights and shadows well, how are we going to take great photos? To deal with this problem, we need to use High Dynamic Range (HDR) photography.
What is HDR photography?
HDR, is also called High Dynamic Range.Different sensors have different dynamic ranges.Dynamic range measures the difference in light intensity from highlights to shadows in a photograph. A wide dynamic range demonstrates more visual detail and a more realistic reproduction of a scene.understanding sensors.
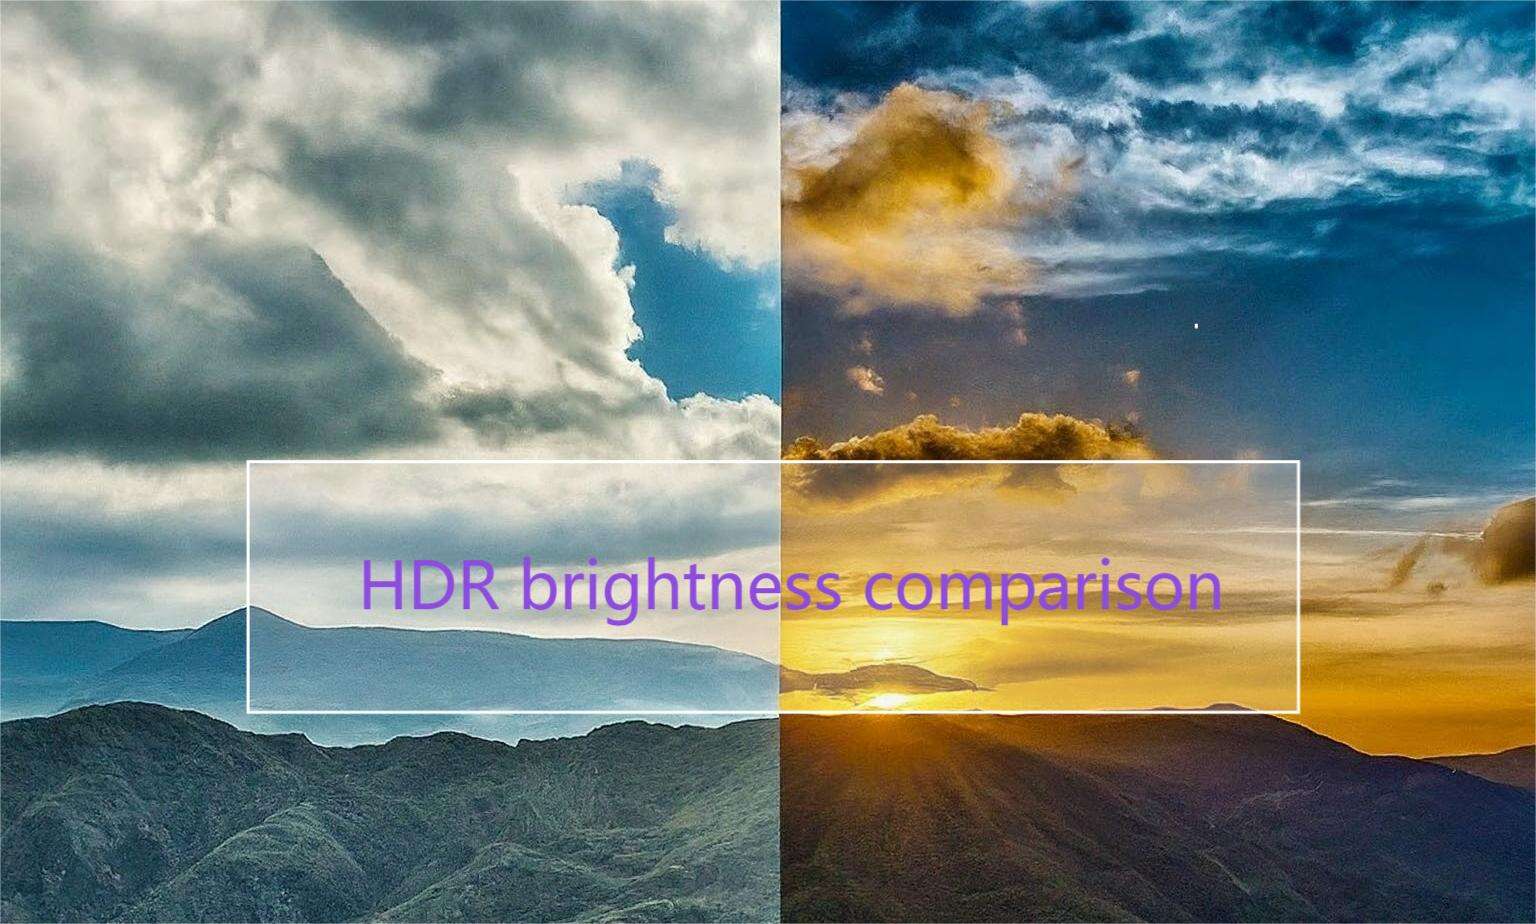
Our human eye, for example, has a wide dynamic range, which is why we are able to see details in both shadows and highlights. Imagine that when the sun goes down, we can see clearly where the sun is shining on the top of a mountain, and we can see the shadows at the bottom of the mountain with the sun at our back.
This is what we hope to achieve with our cameras. But the camera's capabilities are limited compared to the human eye, and that's where HDR comes in, which combines photos with different exposures to create a single image that shows all the details from the highlights to the shadows, so it's also called Exposure Blending. Just like our eyes, we can see rich details no matter how the light changes.
How HDR affects photos
The human eye can capture far more detail than a camera can. And the higher the dynamic range of the camera, the closer the resulting photo will be to what the human eye can see. Therefore, the higher the dynamic range of the camera, the more detail it can capture in the highlights and shadows, otherwise the detail in the highlights would be pure white and the detail in the shadows would be black.
How to take HDR photos?
After understanding the HDR technique, let's see what it takes to take an HDR photo that shows a complete change in light and shadow:
1. Fix the camera: Use a tripod or other fixing tools to make sure the hdr camera is stabilized, which is a prerequisite for taking multiple photos with different exposures.
2. Normal exposure: Take a normal exposure photo first as a benchmark.
3. Underexposed: Lower the exposure setting and take a darker photo to preserve the details of the brightest part of the scene.
4. Overexposure: Increase the exposure setting and take a brighter picture that will be used to retain details in the darkest part of the scene.
5. Post-processing and compositing: Import these differently exposed photos into Adobe Lightroom or other post-processing software. Use the compositing tool to combine them into one HDR image. During the compositing process, adjust the brightness, contrast and color of each photo to create the most natural and balanced effect.
After this series of fine-tuning, an HDR photo with rich detail and layers of light and shadow is complete.
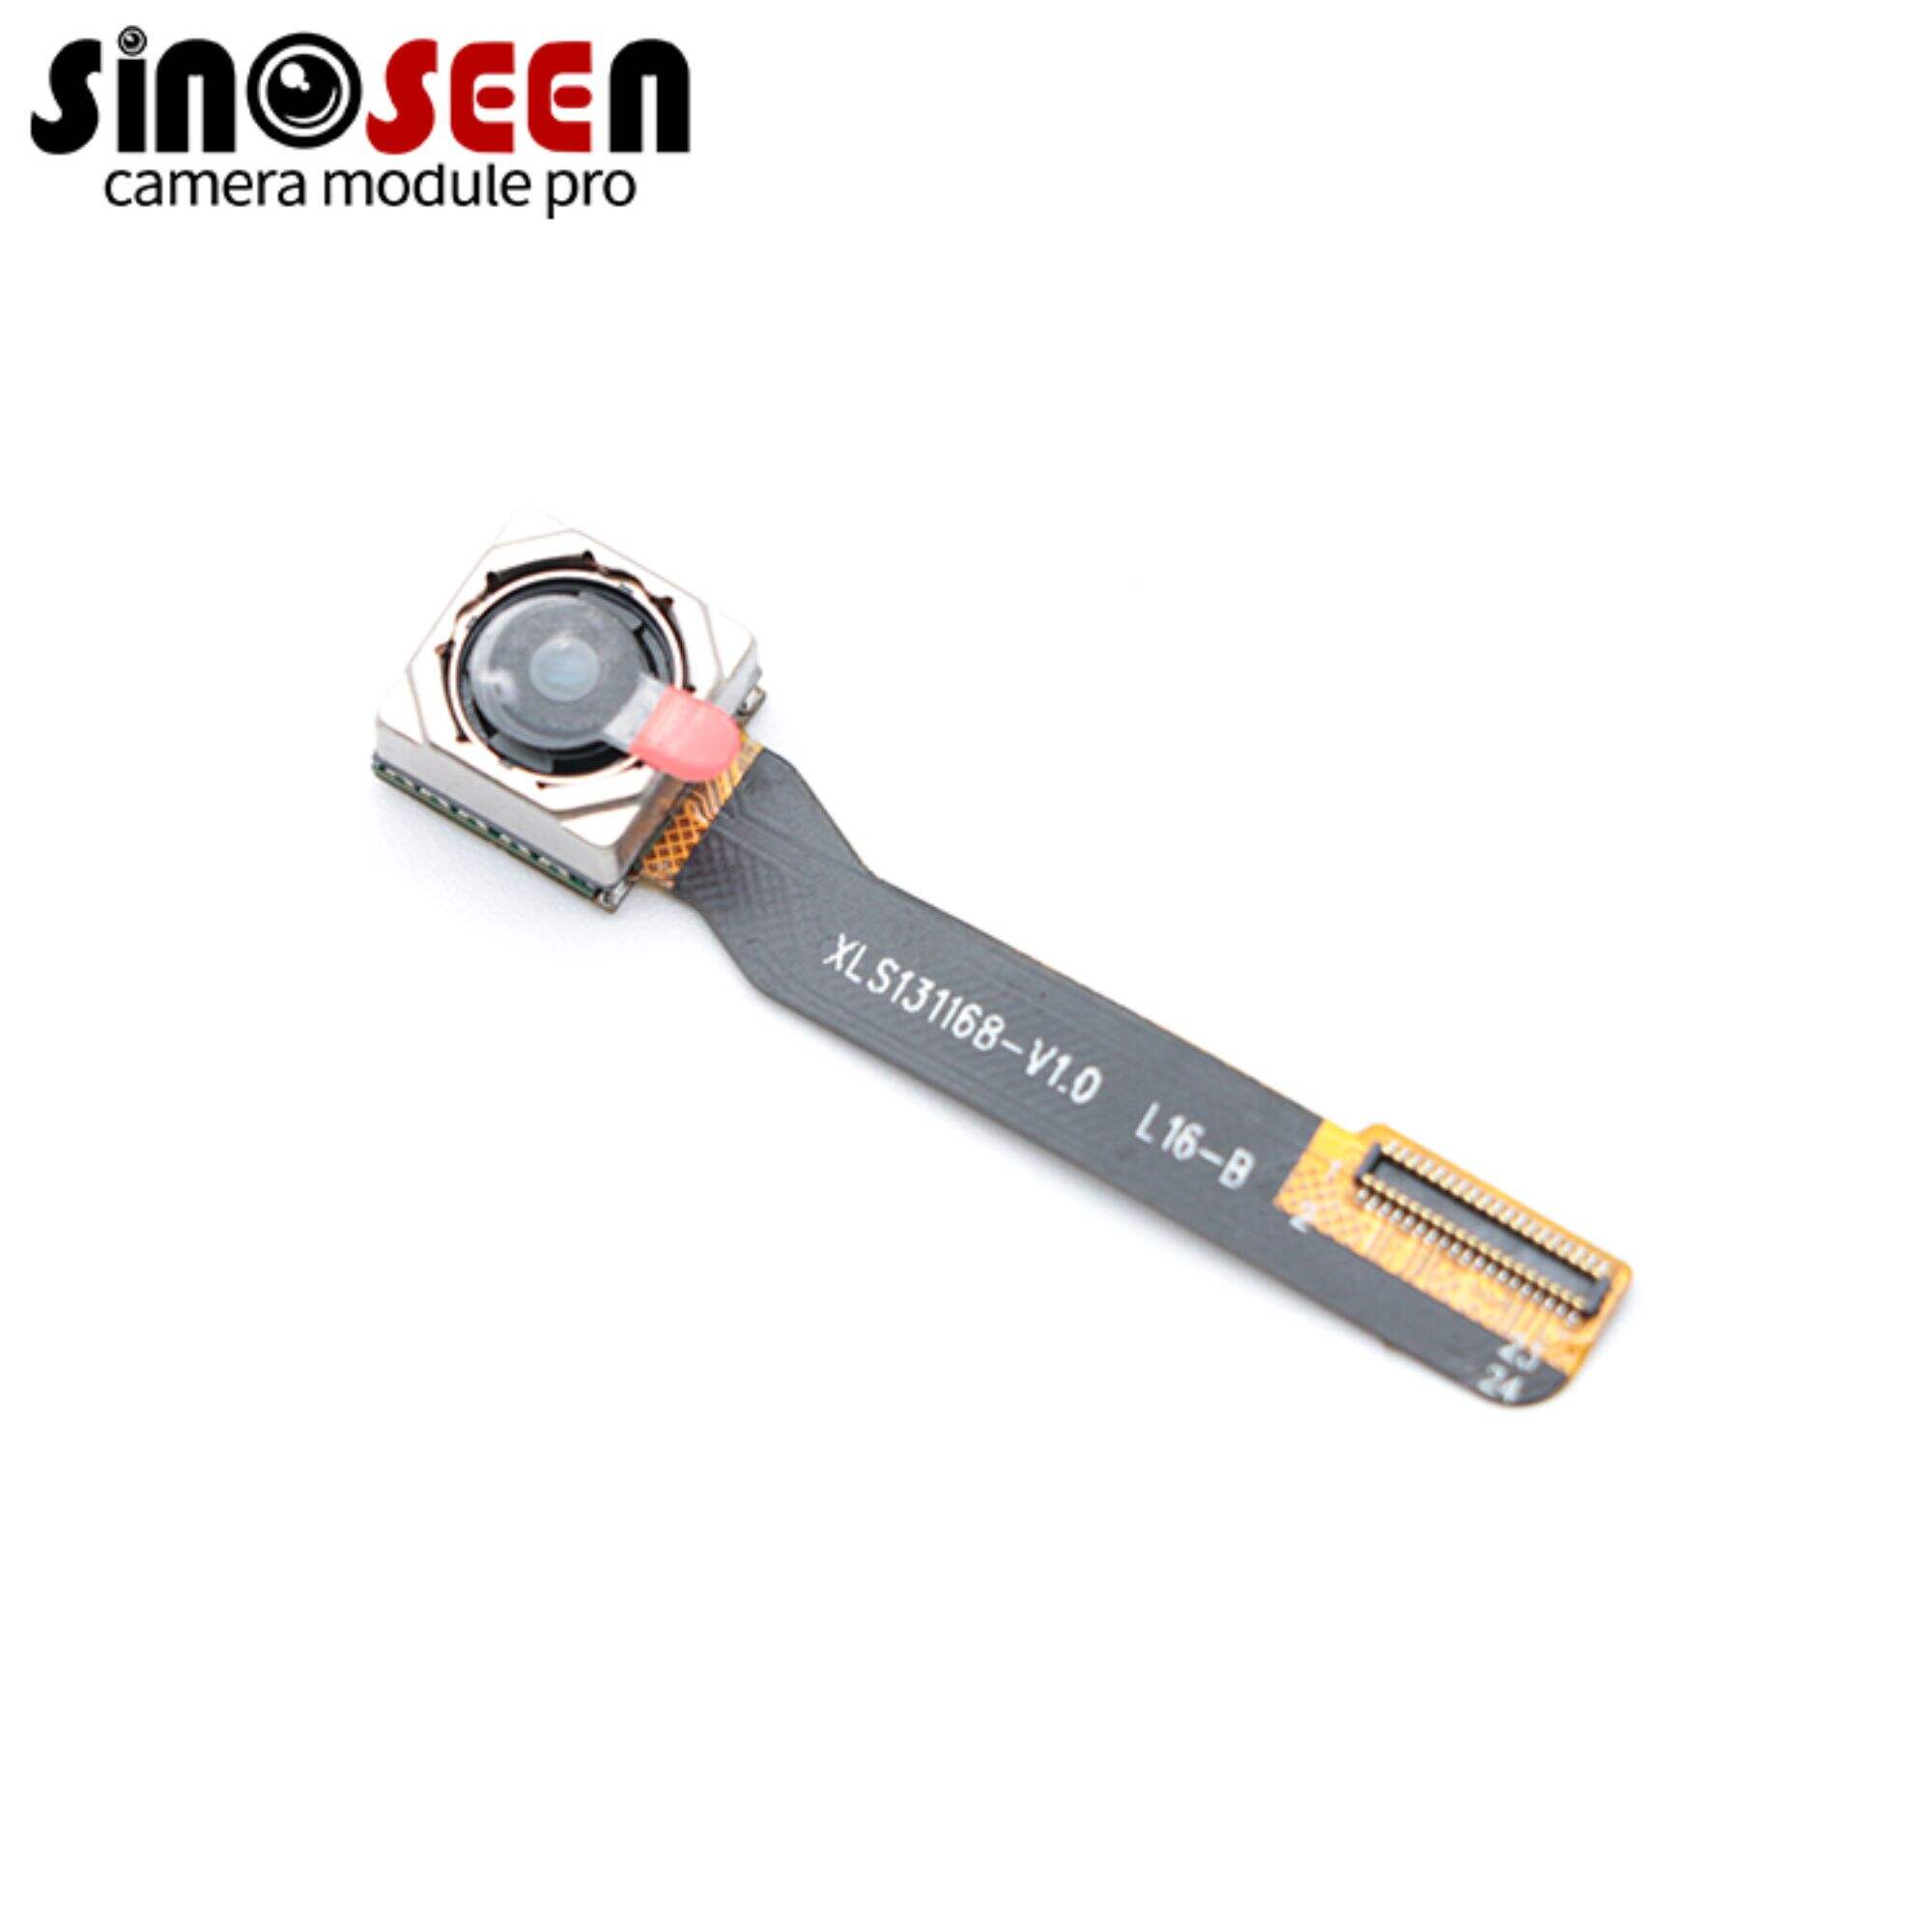
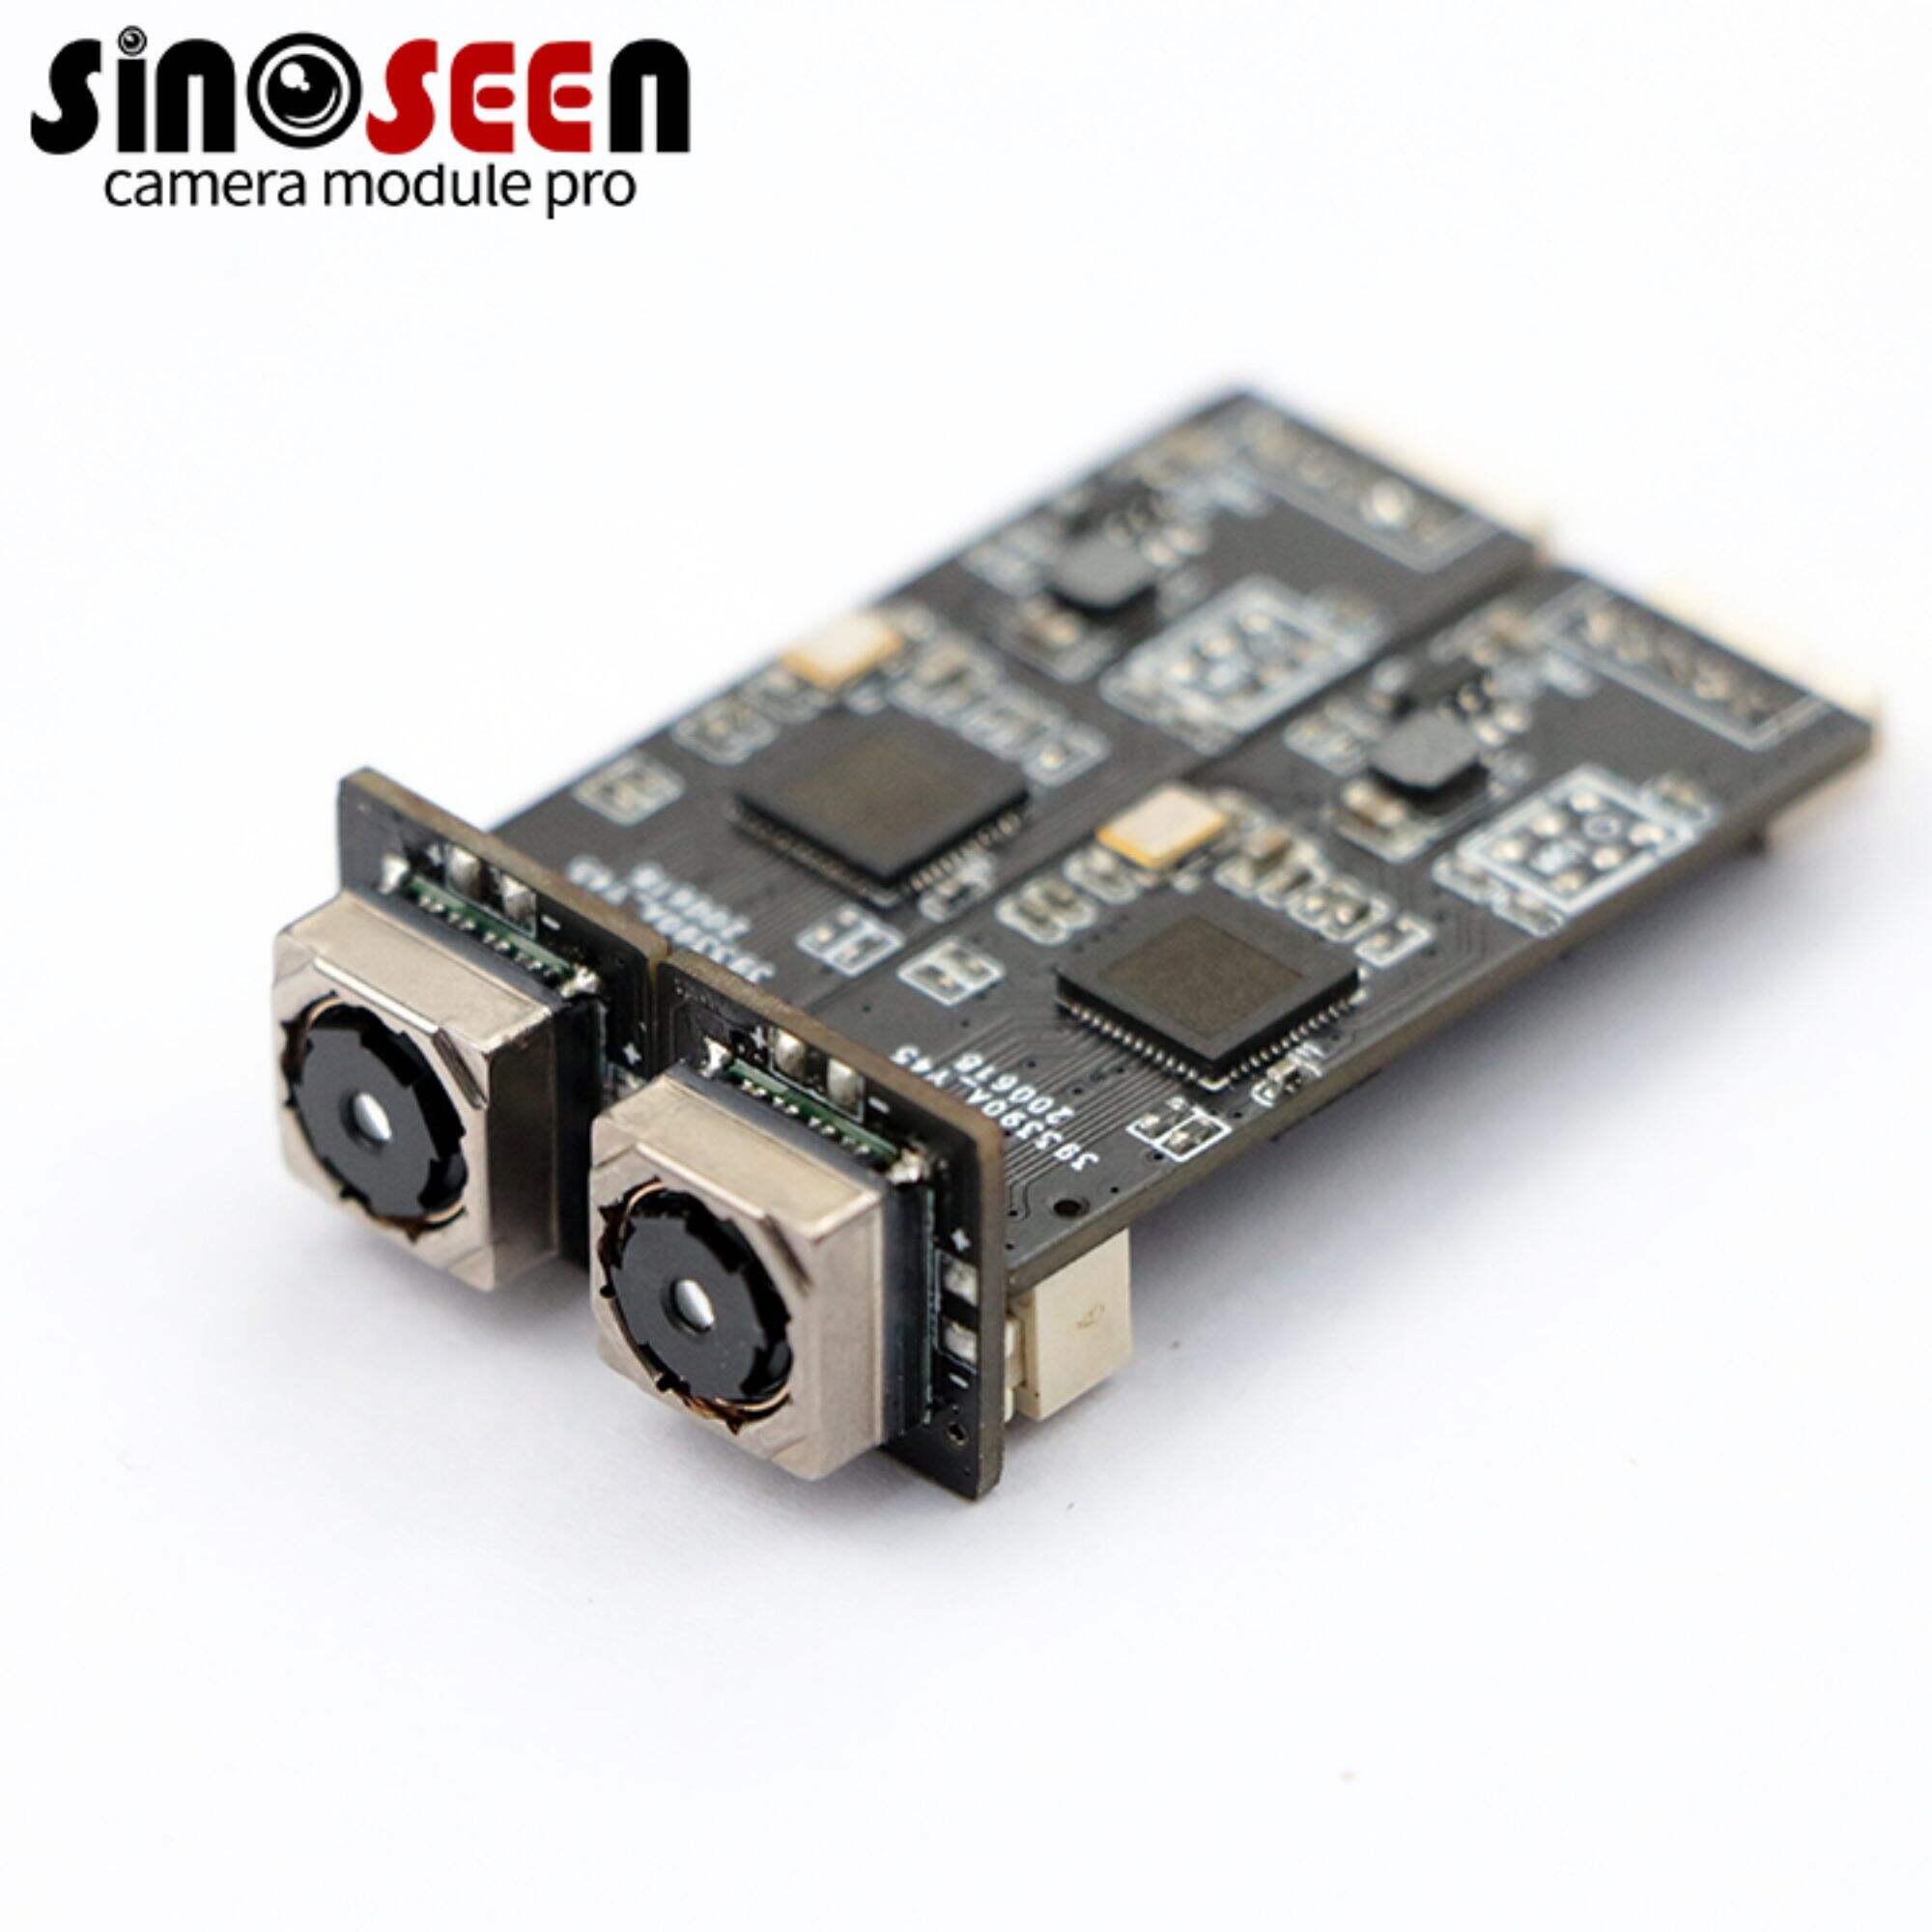
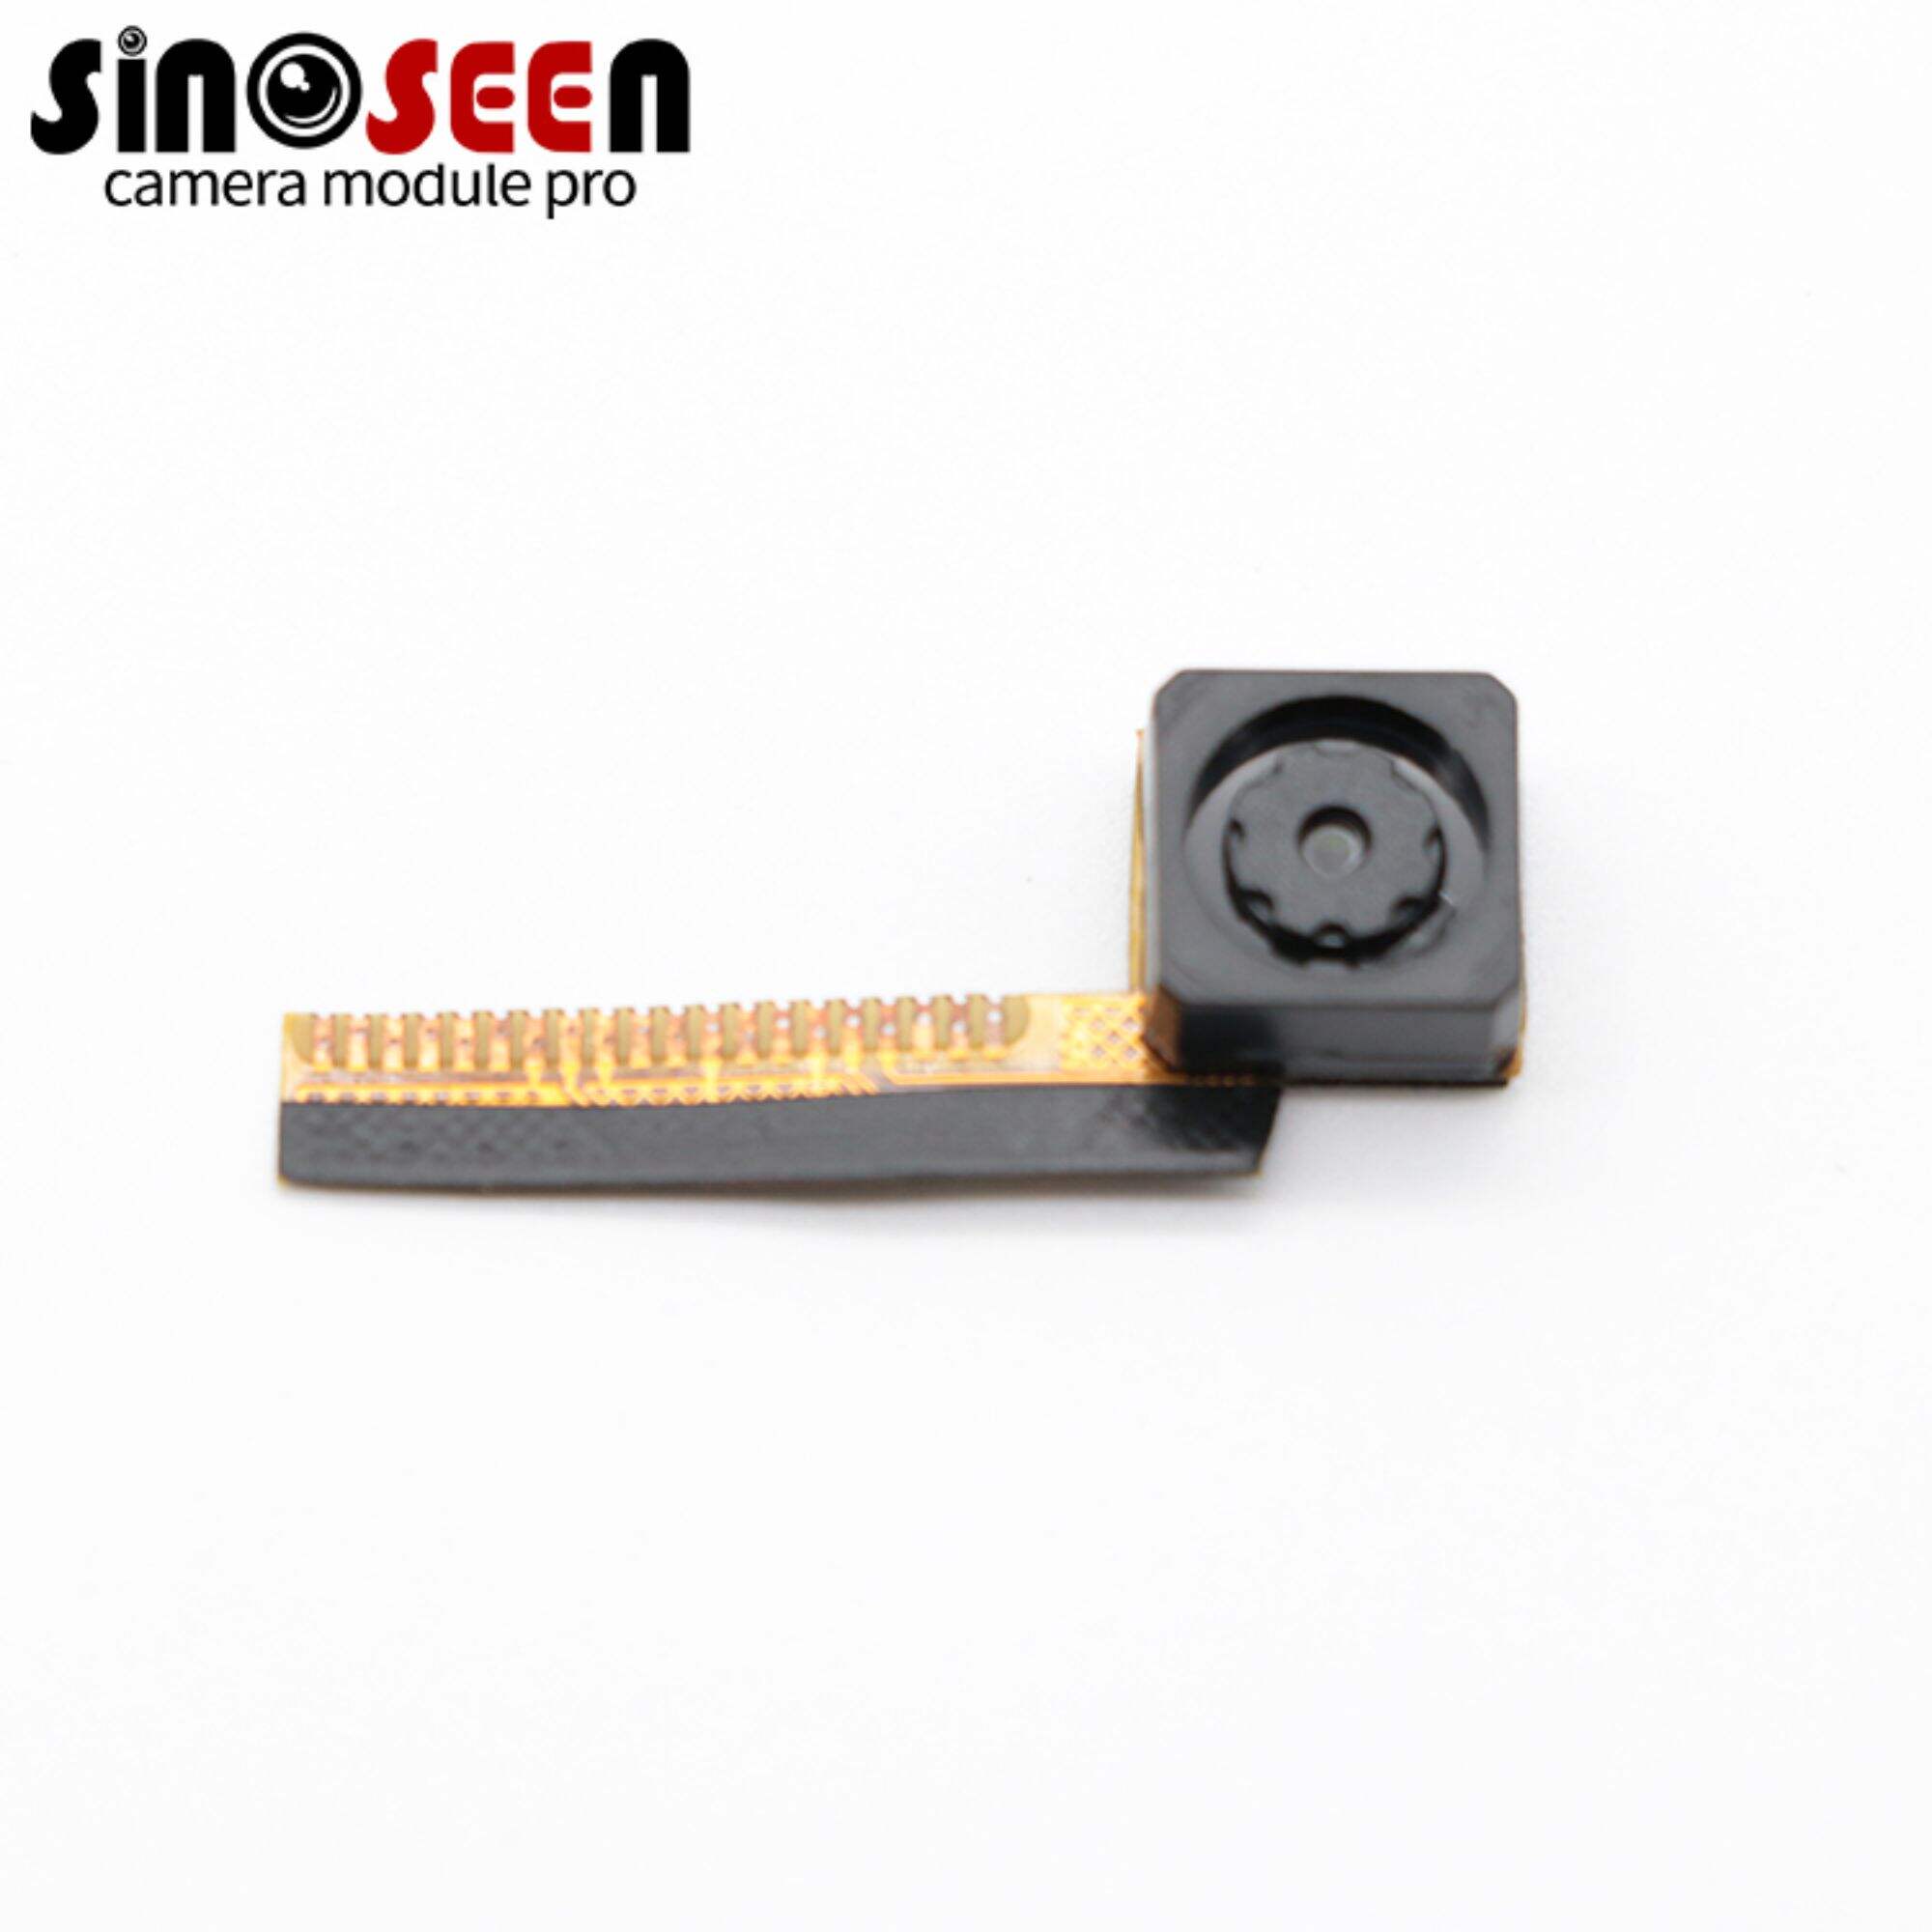
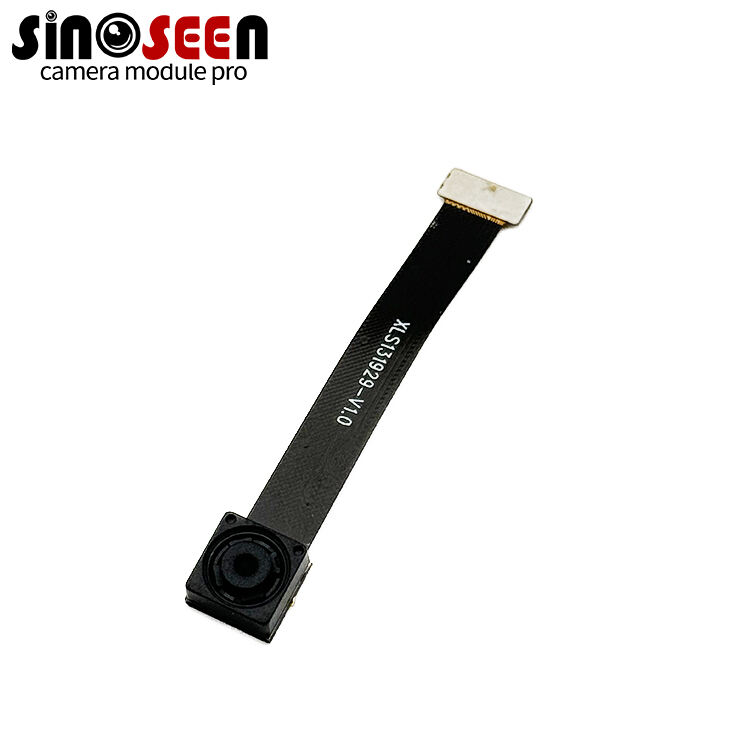
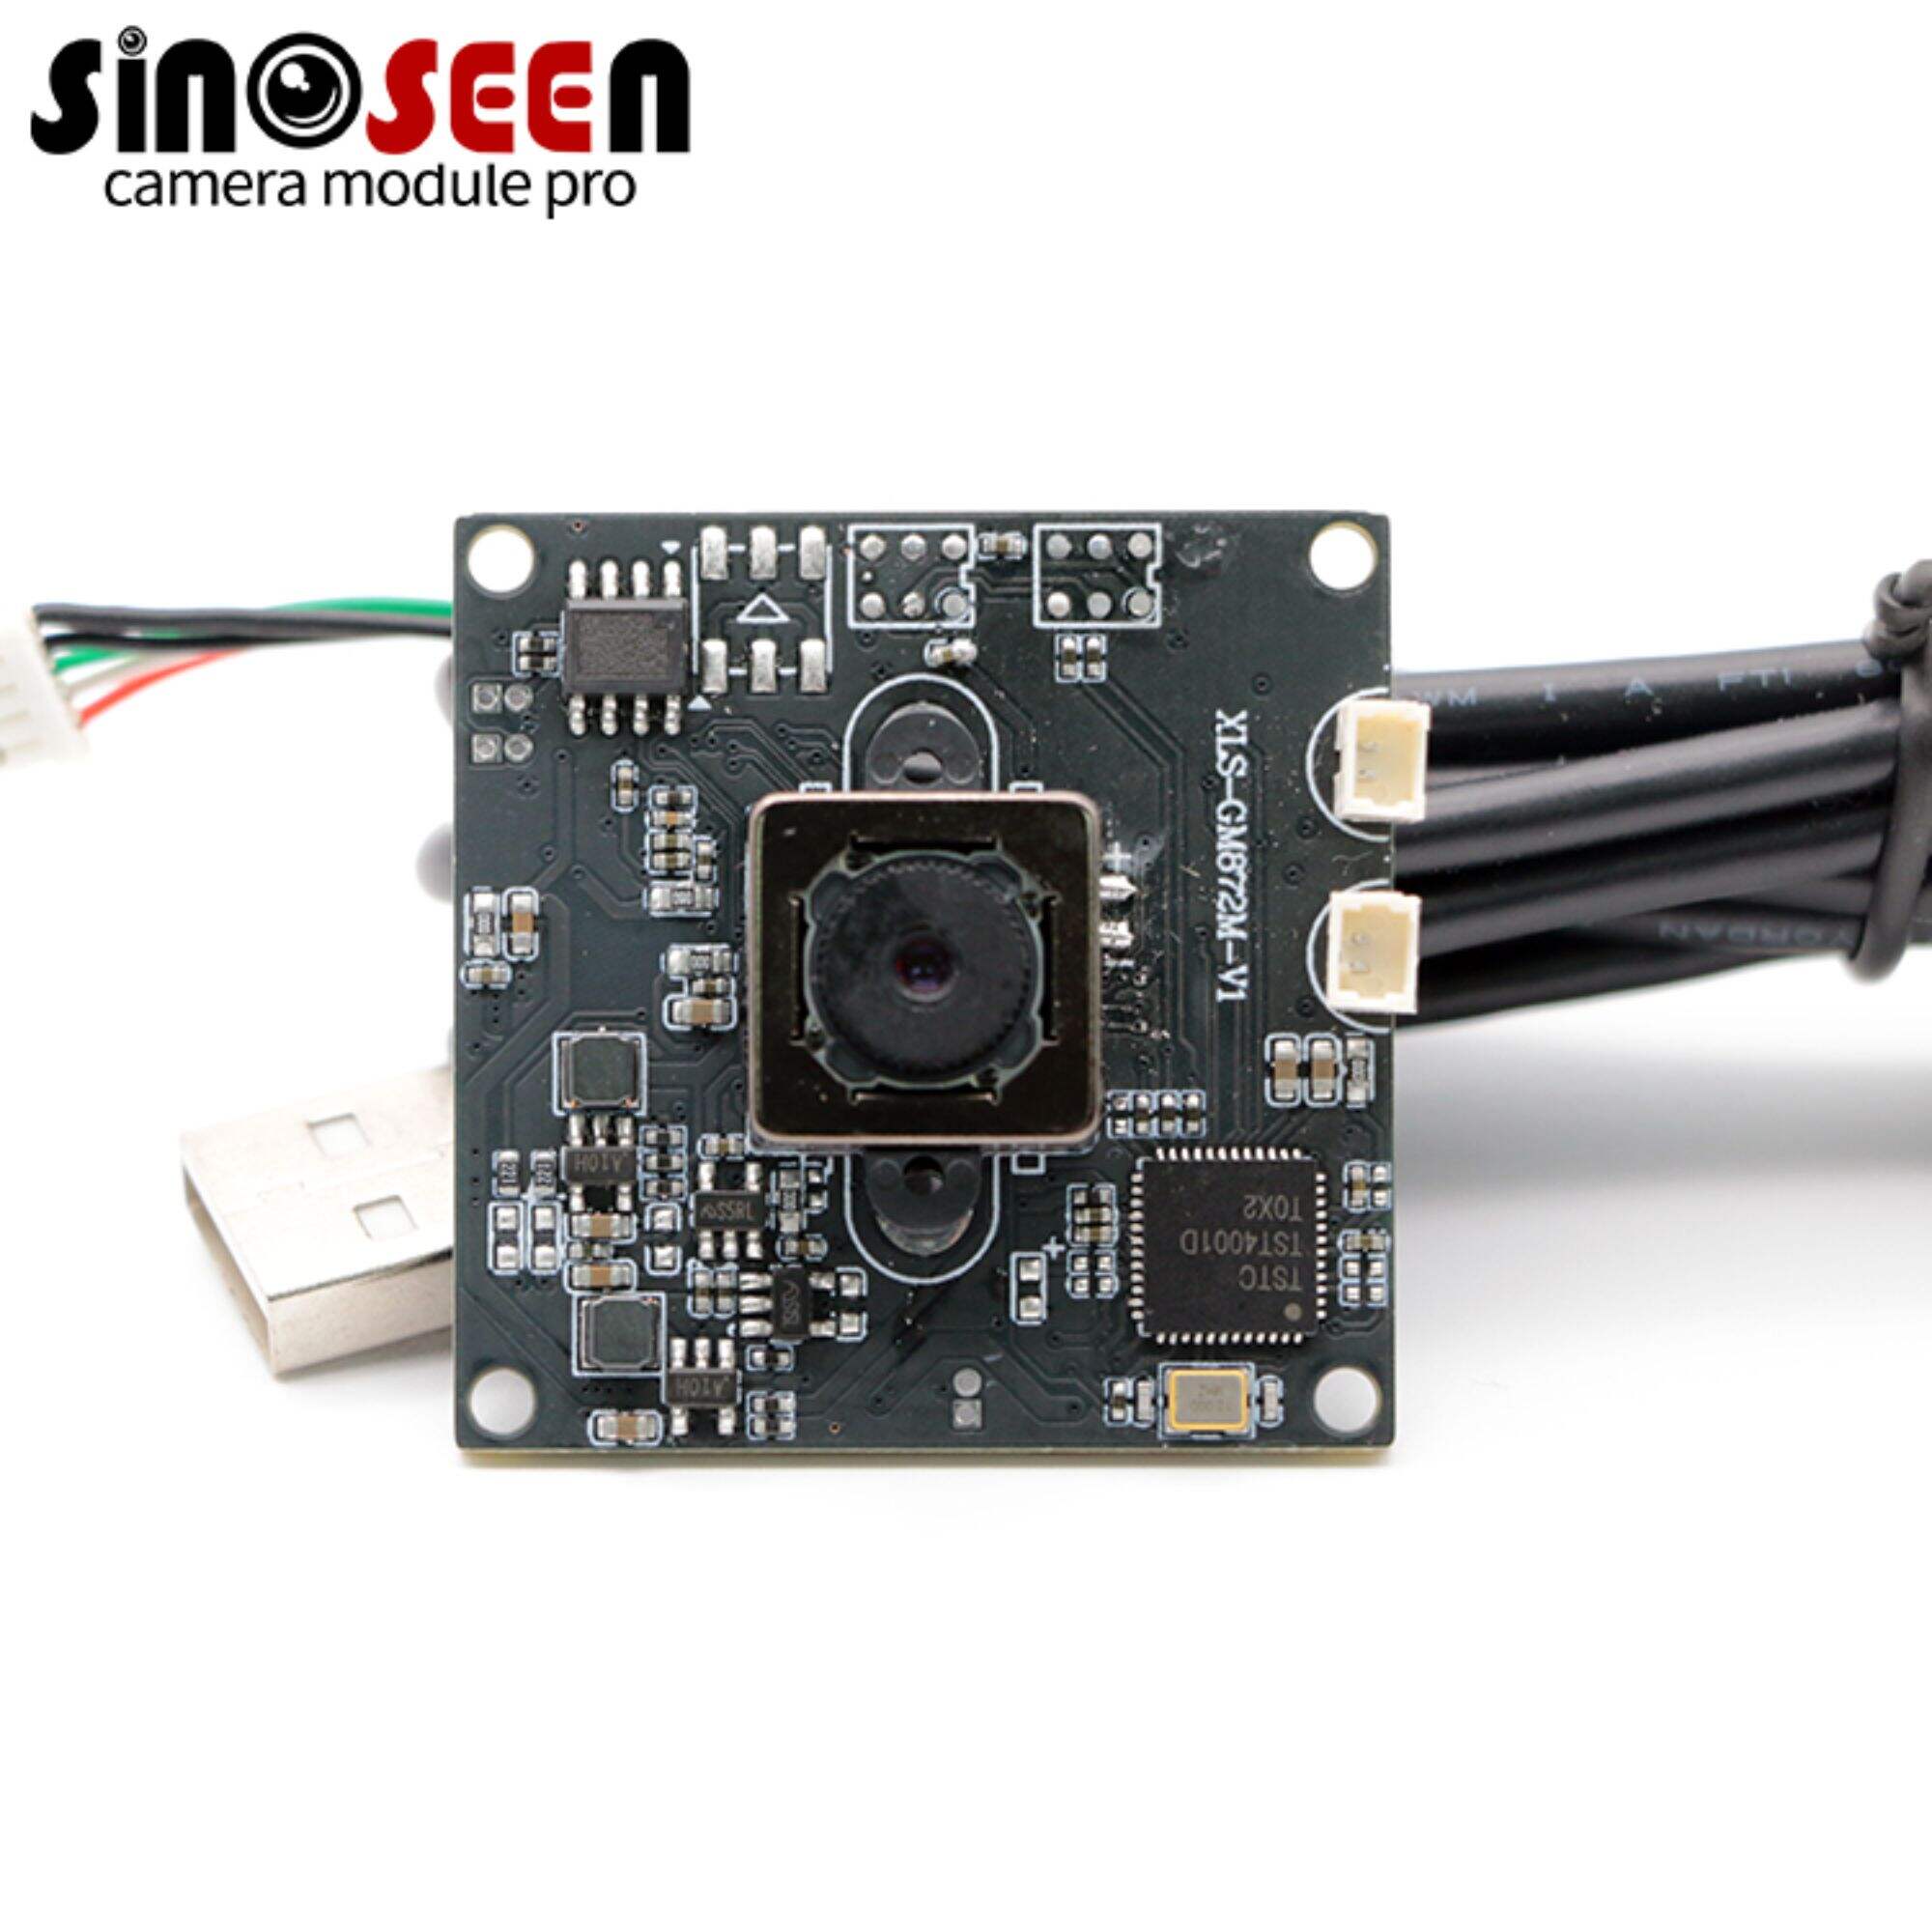
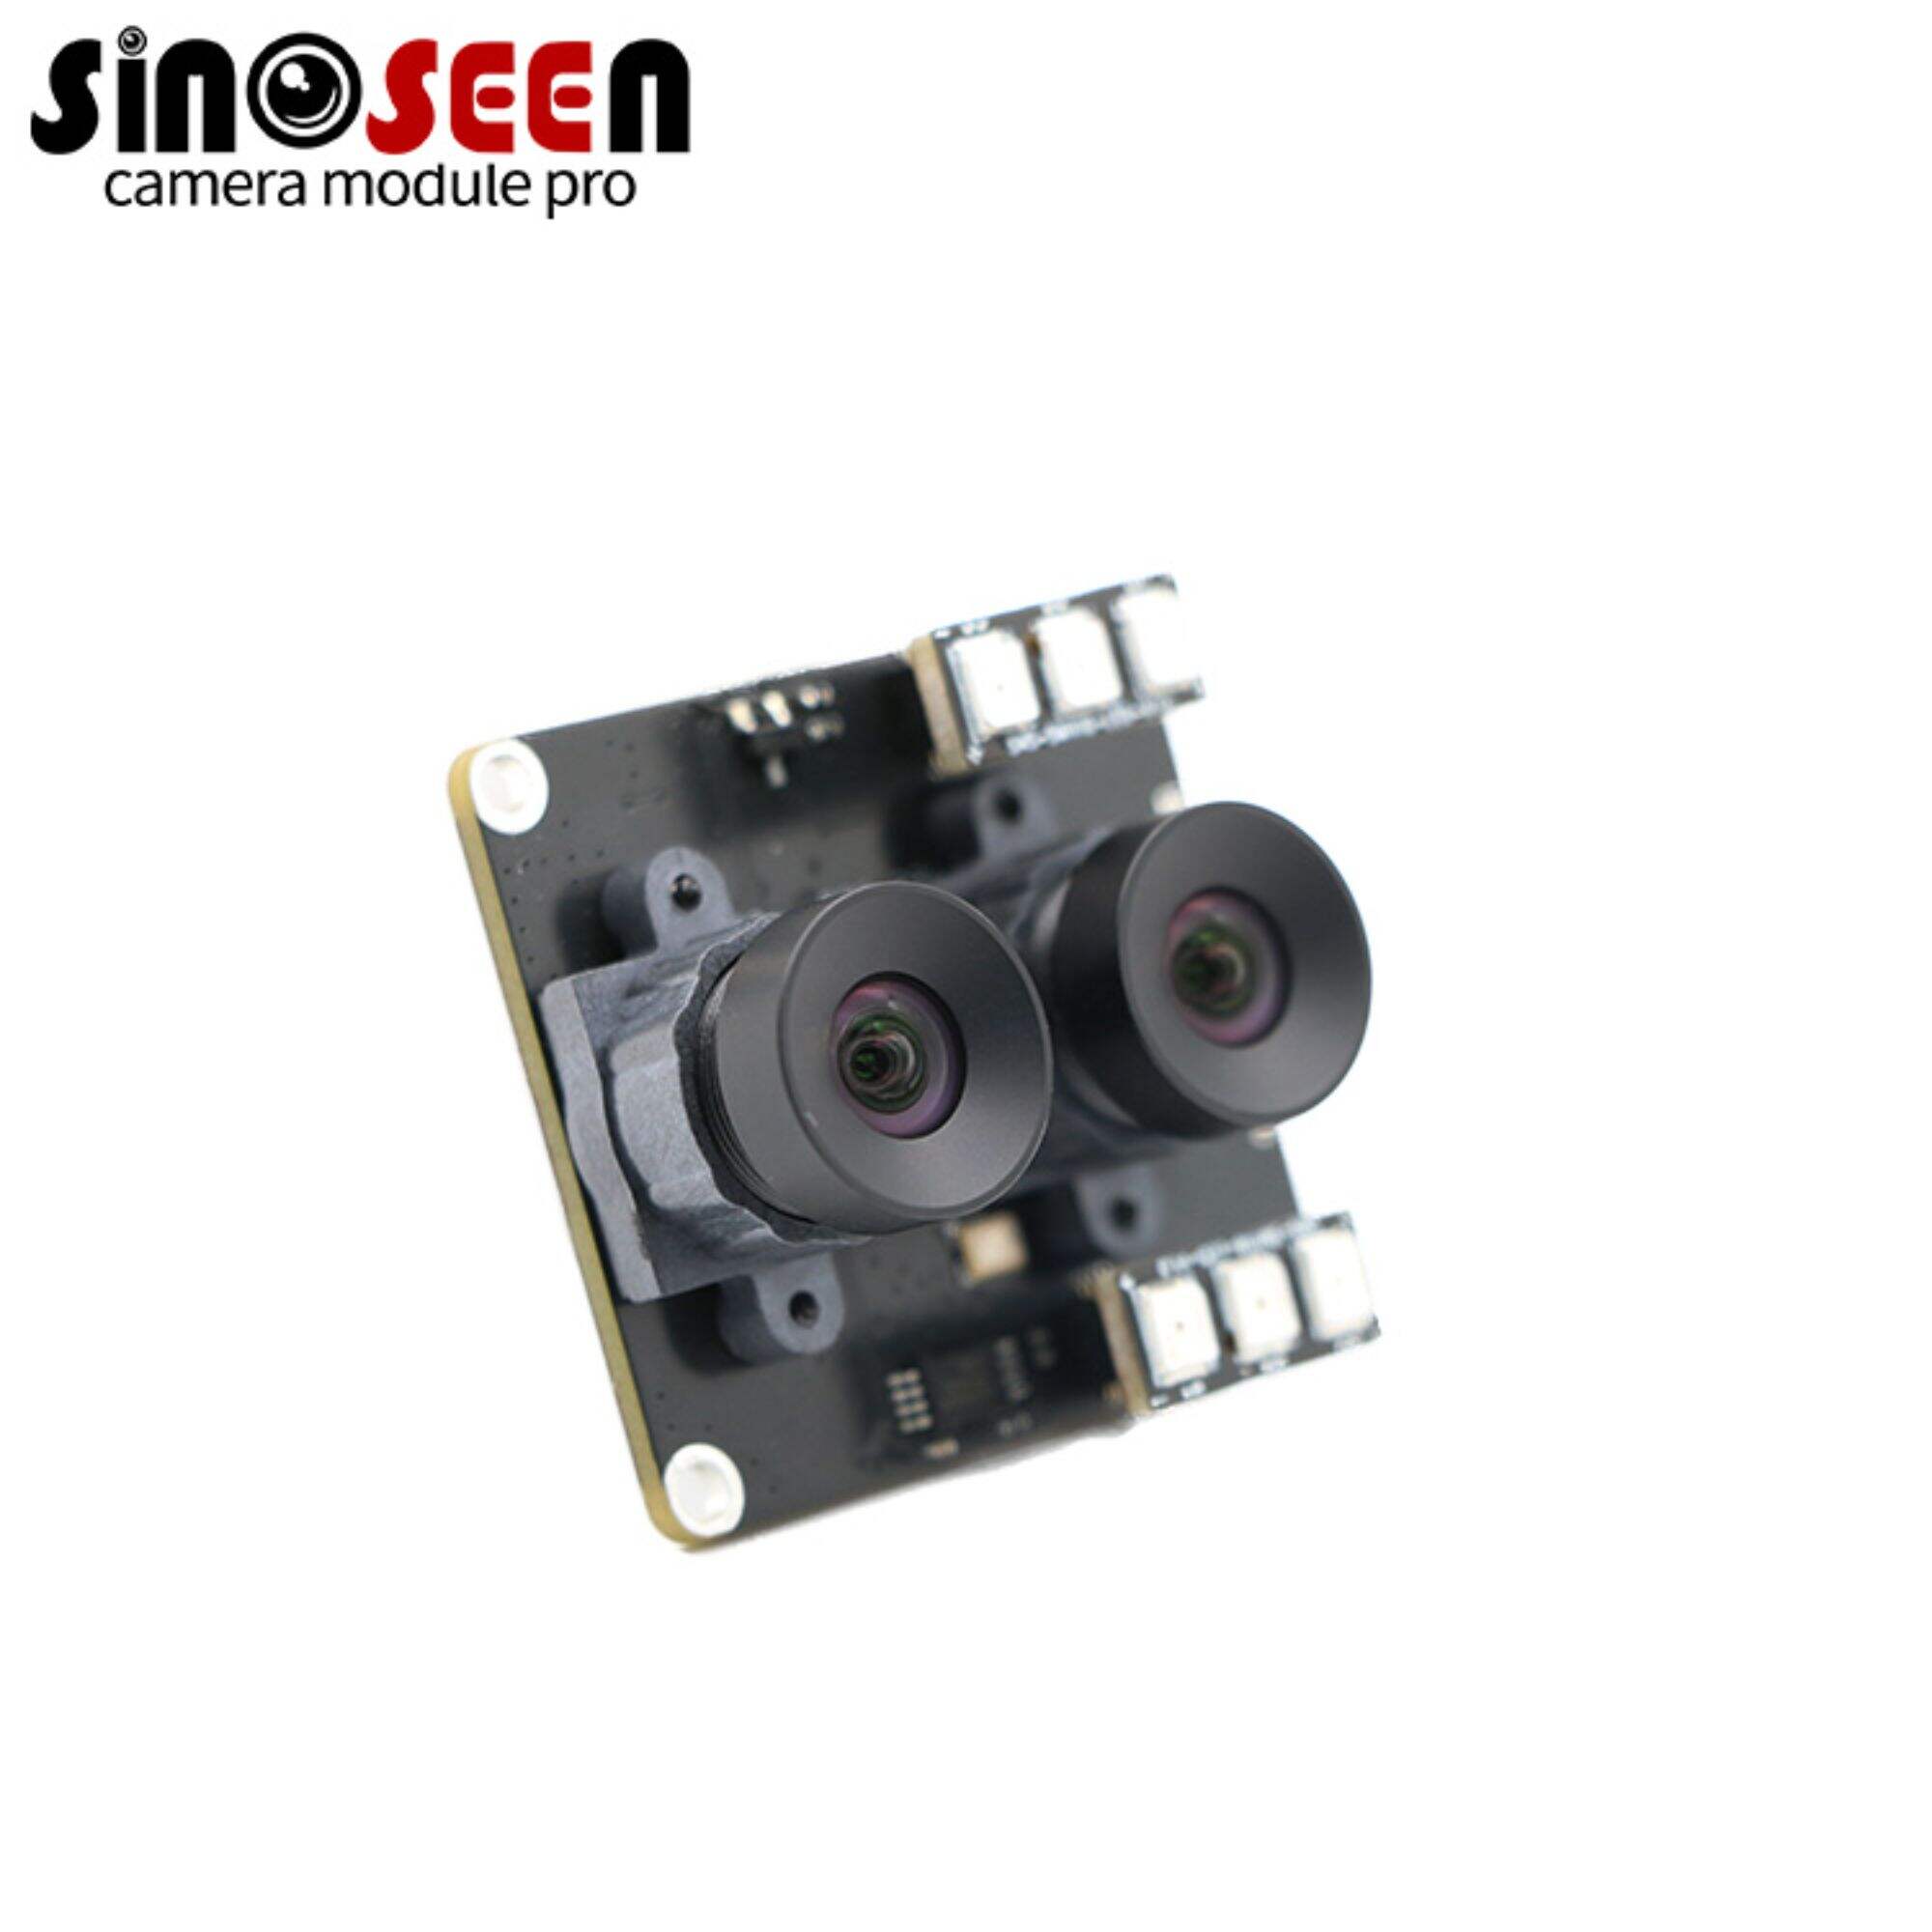
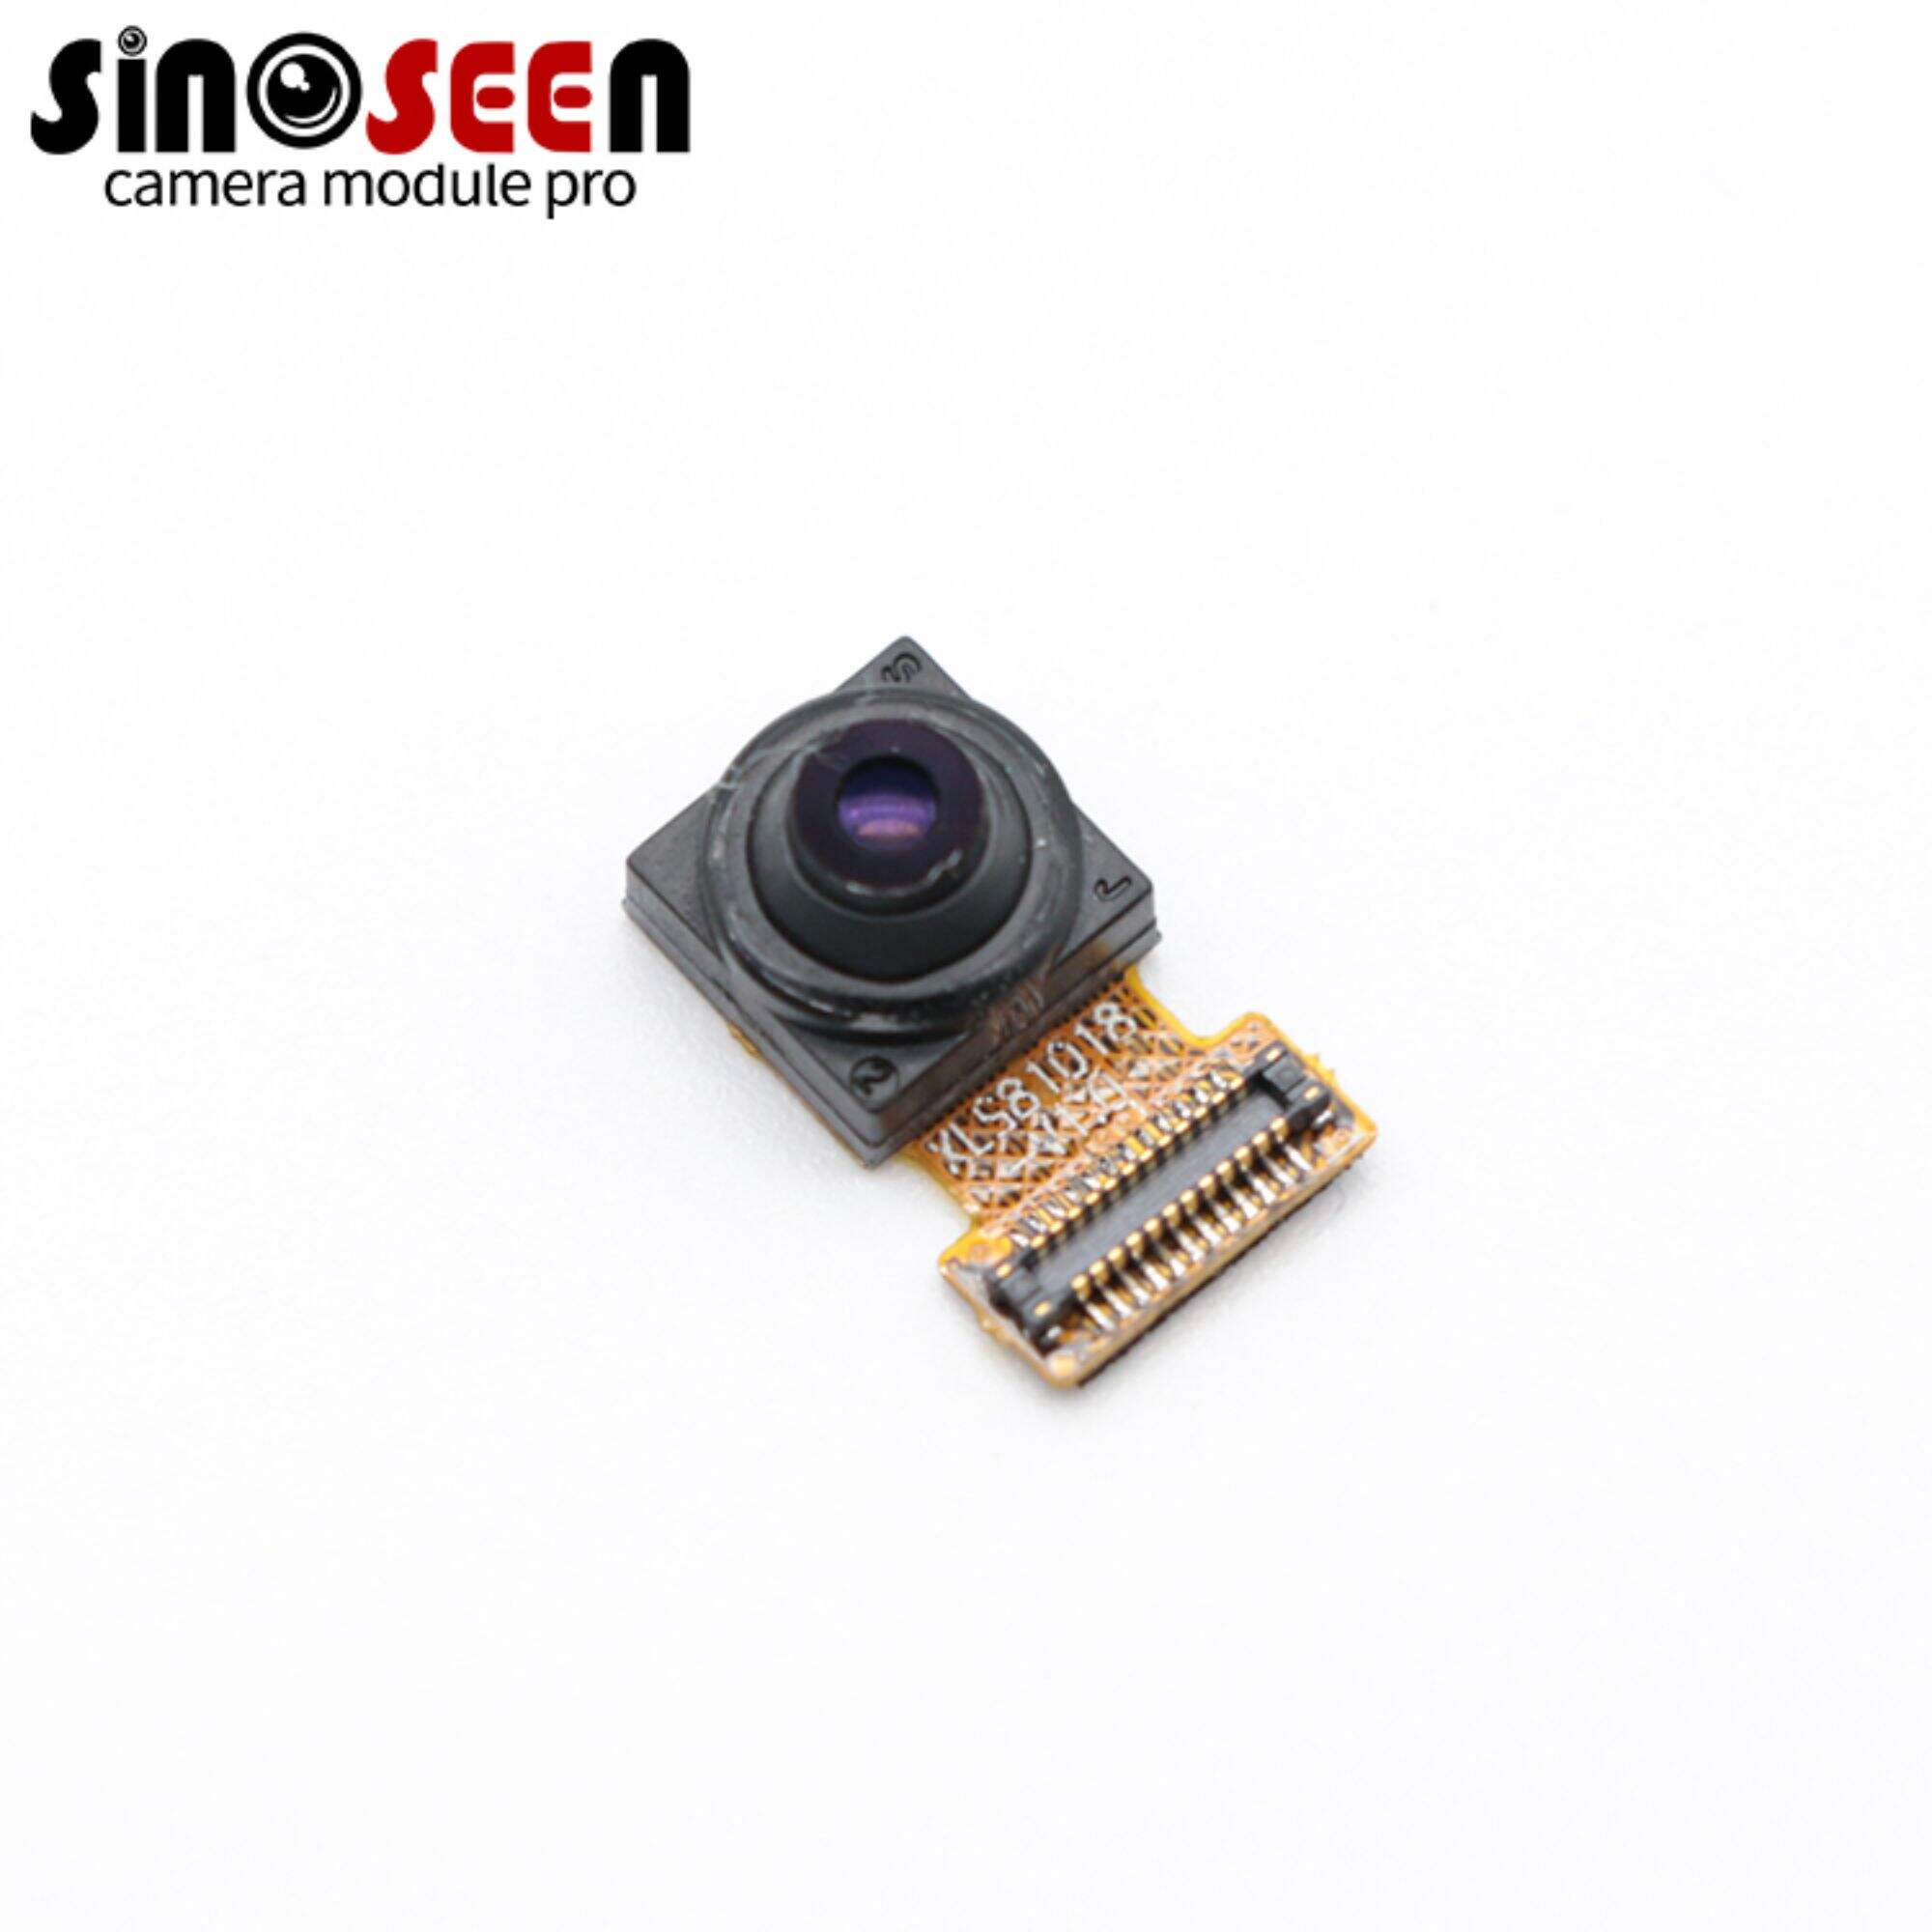
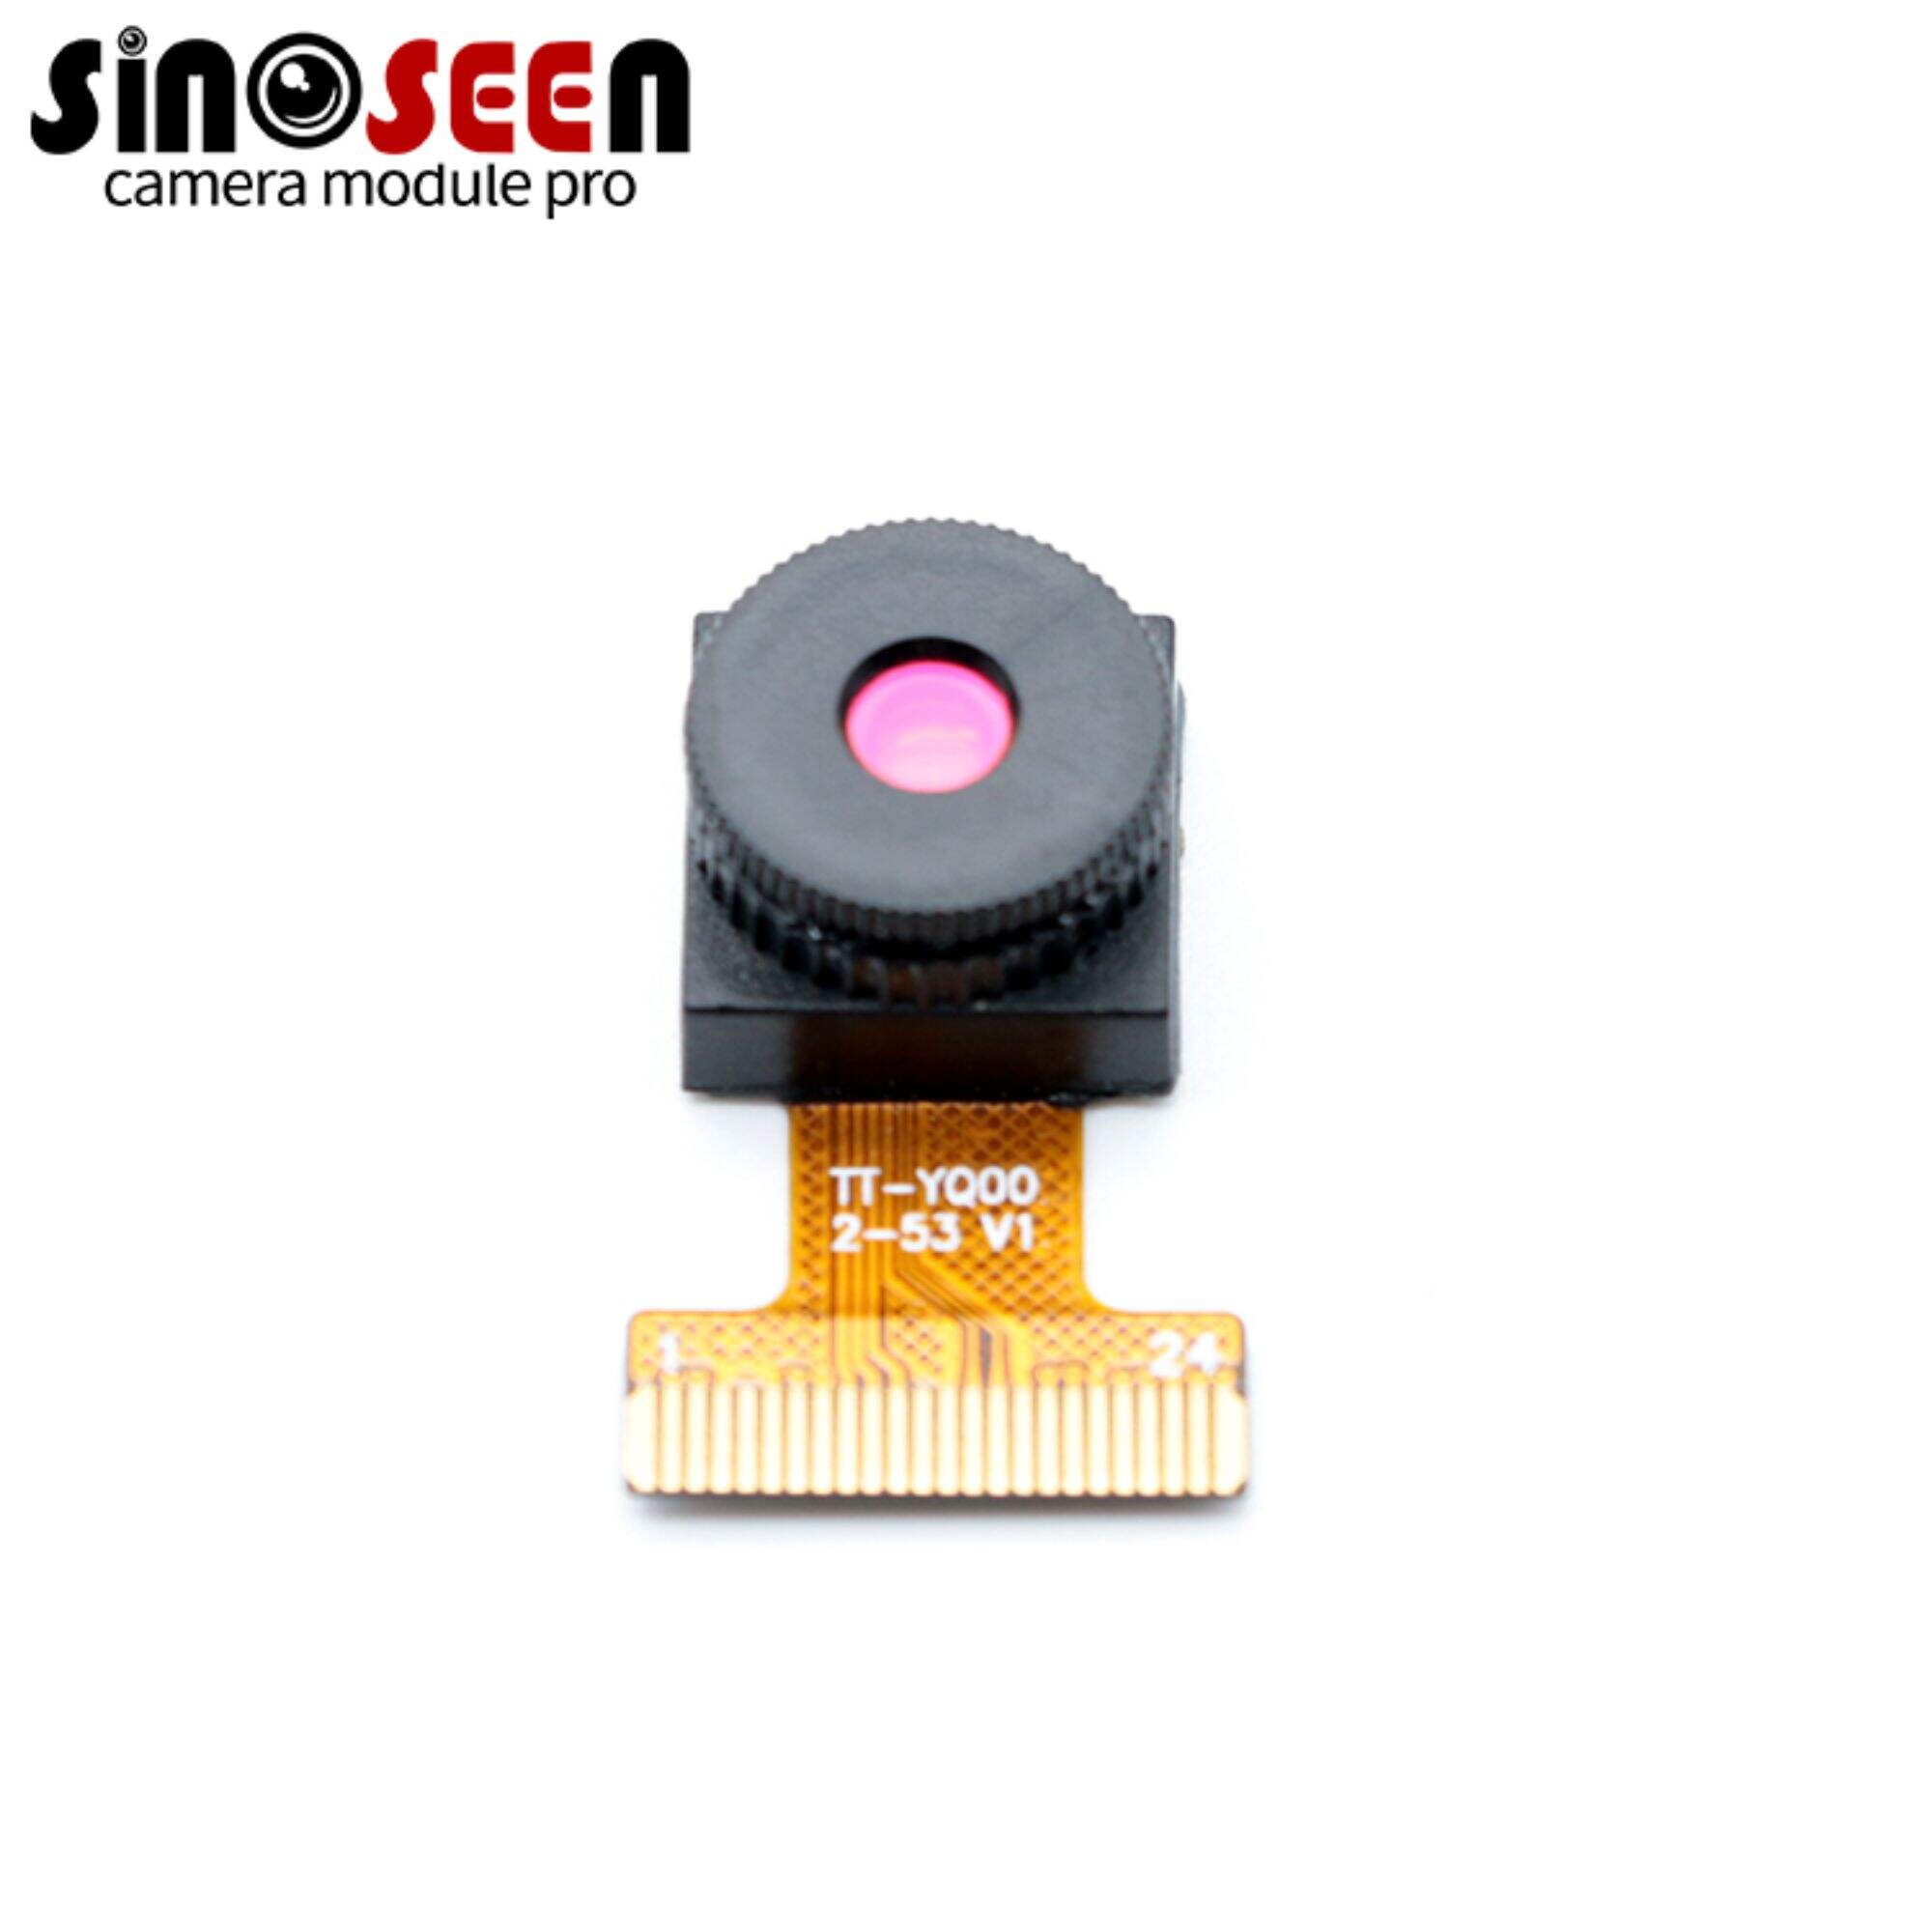
Finally, if you need to find the right HDR camera module for your embedded vision application, try to find a solution at Sinoseen, a professional manufacturer and supplier of camera module design and production, with many years of experience and several industry experts, and based on quality and integrity. We believe that we can provide the most suitable solution for you here.

 EN
EN
 AR
AR
 DA
DA
 NL
NL
 FI
FI
 FR
FR
 DE
DE
 EL
EL
 HI
HI
 IT
IT
 JA
JA
 KO
KO
 NO
NO
 PL
PL
 PT
PT
 RO
RO
 RU
RU
 ES
ES
 SV
SV
 TL
TL
 IW
IW
 ID
ID
 SR
SR
 VI
VI
 HU
HU
 TH
TH
 TR
TR
 FA
FA
 MS
MS
 IS
IS
 AZ
AZ
 UR
UR
 BN
BN
 HA
HA
 LO
LO
 MR
MR
 MN
MN
 PA
PA
 MY
MY
 SD
SD

