How to clean image sensor canon: Simple Steps to Make Your Photography Clearer
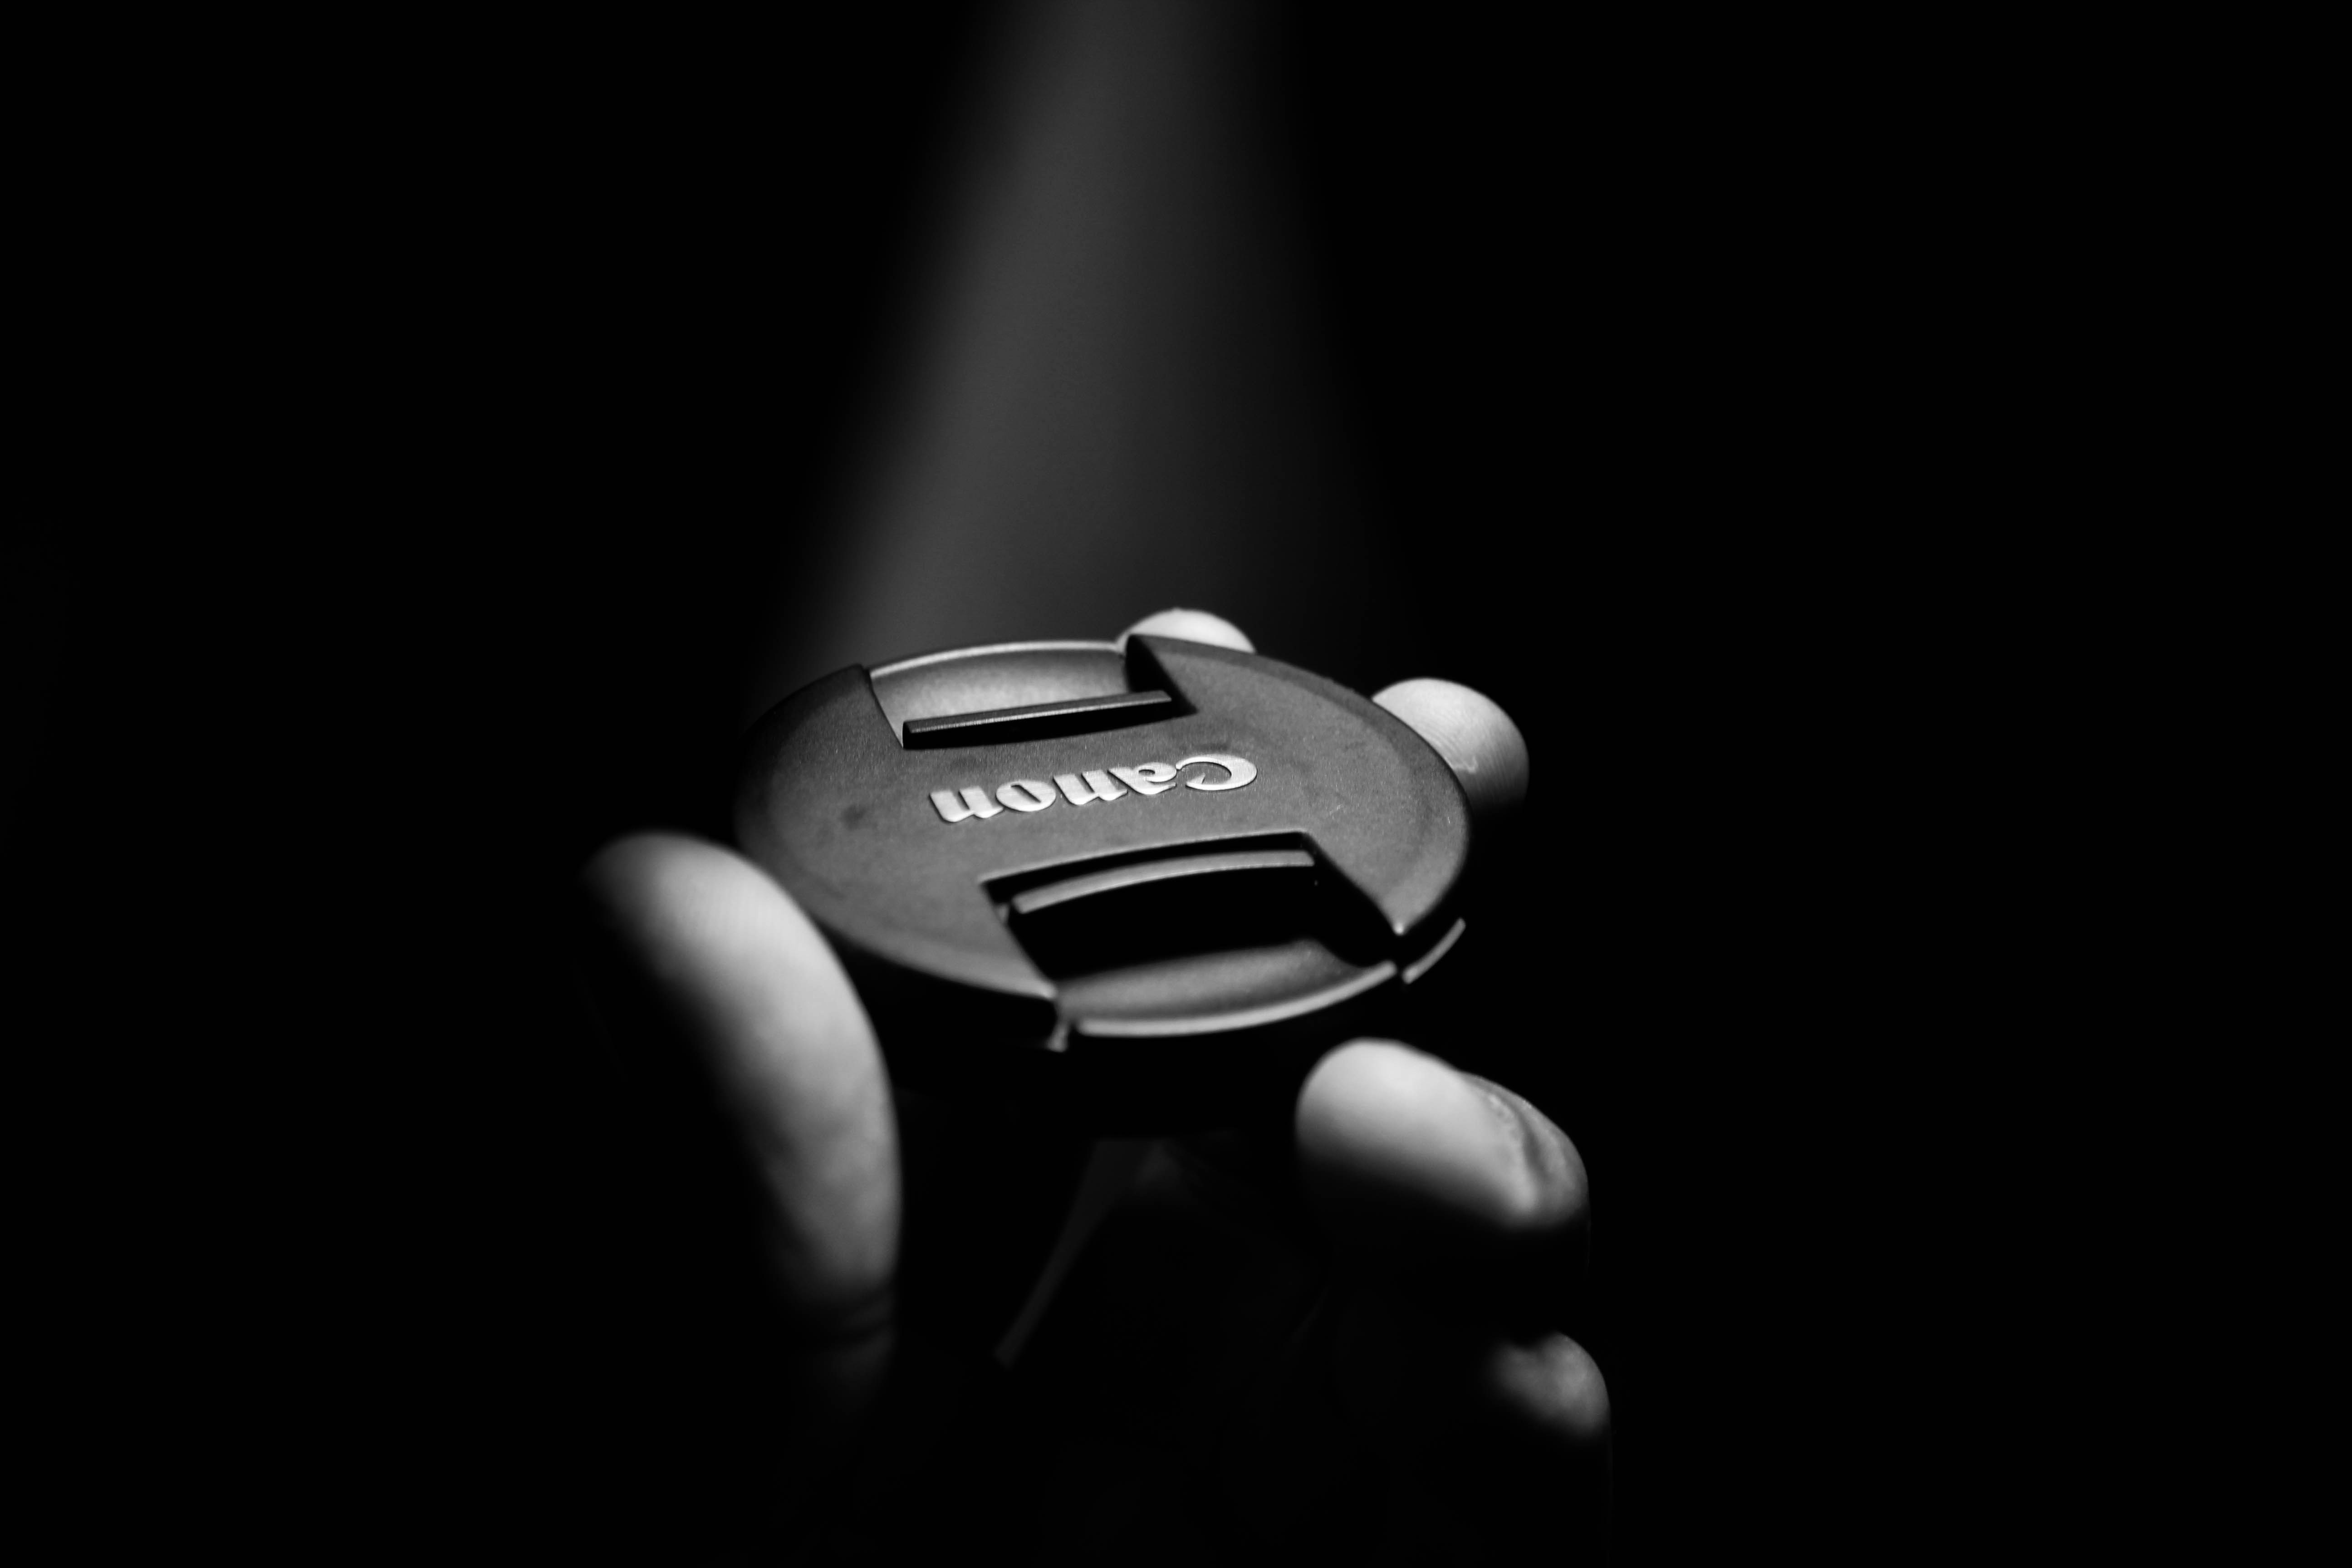
In the world of digital photography, the image sensor is like the camera’s heart. It captures every moment in detail. However, over time, dust, dirt, and even small particles may get onto the image sensor thereby affecting your photo’s quality. Let’s learn today how to clean the Canon camera image sensor and make your photos clear and vivid as they were.
1. Preparation work
Before starting cleaning, be sure you have read carefully your camera instruction manual and understood where your image sensor is located and its importance. Simultaneously, prepare for the following:
Image Sensor Cleaning Kit designed for Canon (usually includes wiping fluid, brush for cleaning as well as wipe)
Sterile environment (e.g., a clean room or a cleaning box for cameras)
Soft brush (such as makeup brush)
2. Turn off the camera and remove the lens
Before cleaning up the image sensor ensure that you turn off your camera while the lens is taken away hence preventing any harm by accident either on the lens or the sensor during cleansing.
3. Use a cleaning brush to remove dust
Firstly use specific branded Canon cleaner or soft brushes to gently wave off dirt from the surface of sensors to avoid dragging more into it and ensure that it is clean and free from dust.
4. Use cleaning fluid and wipes
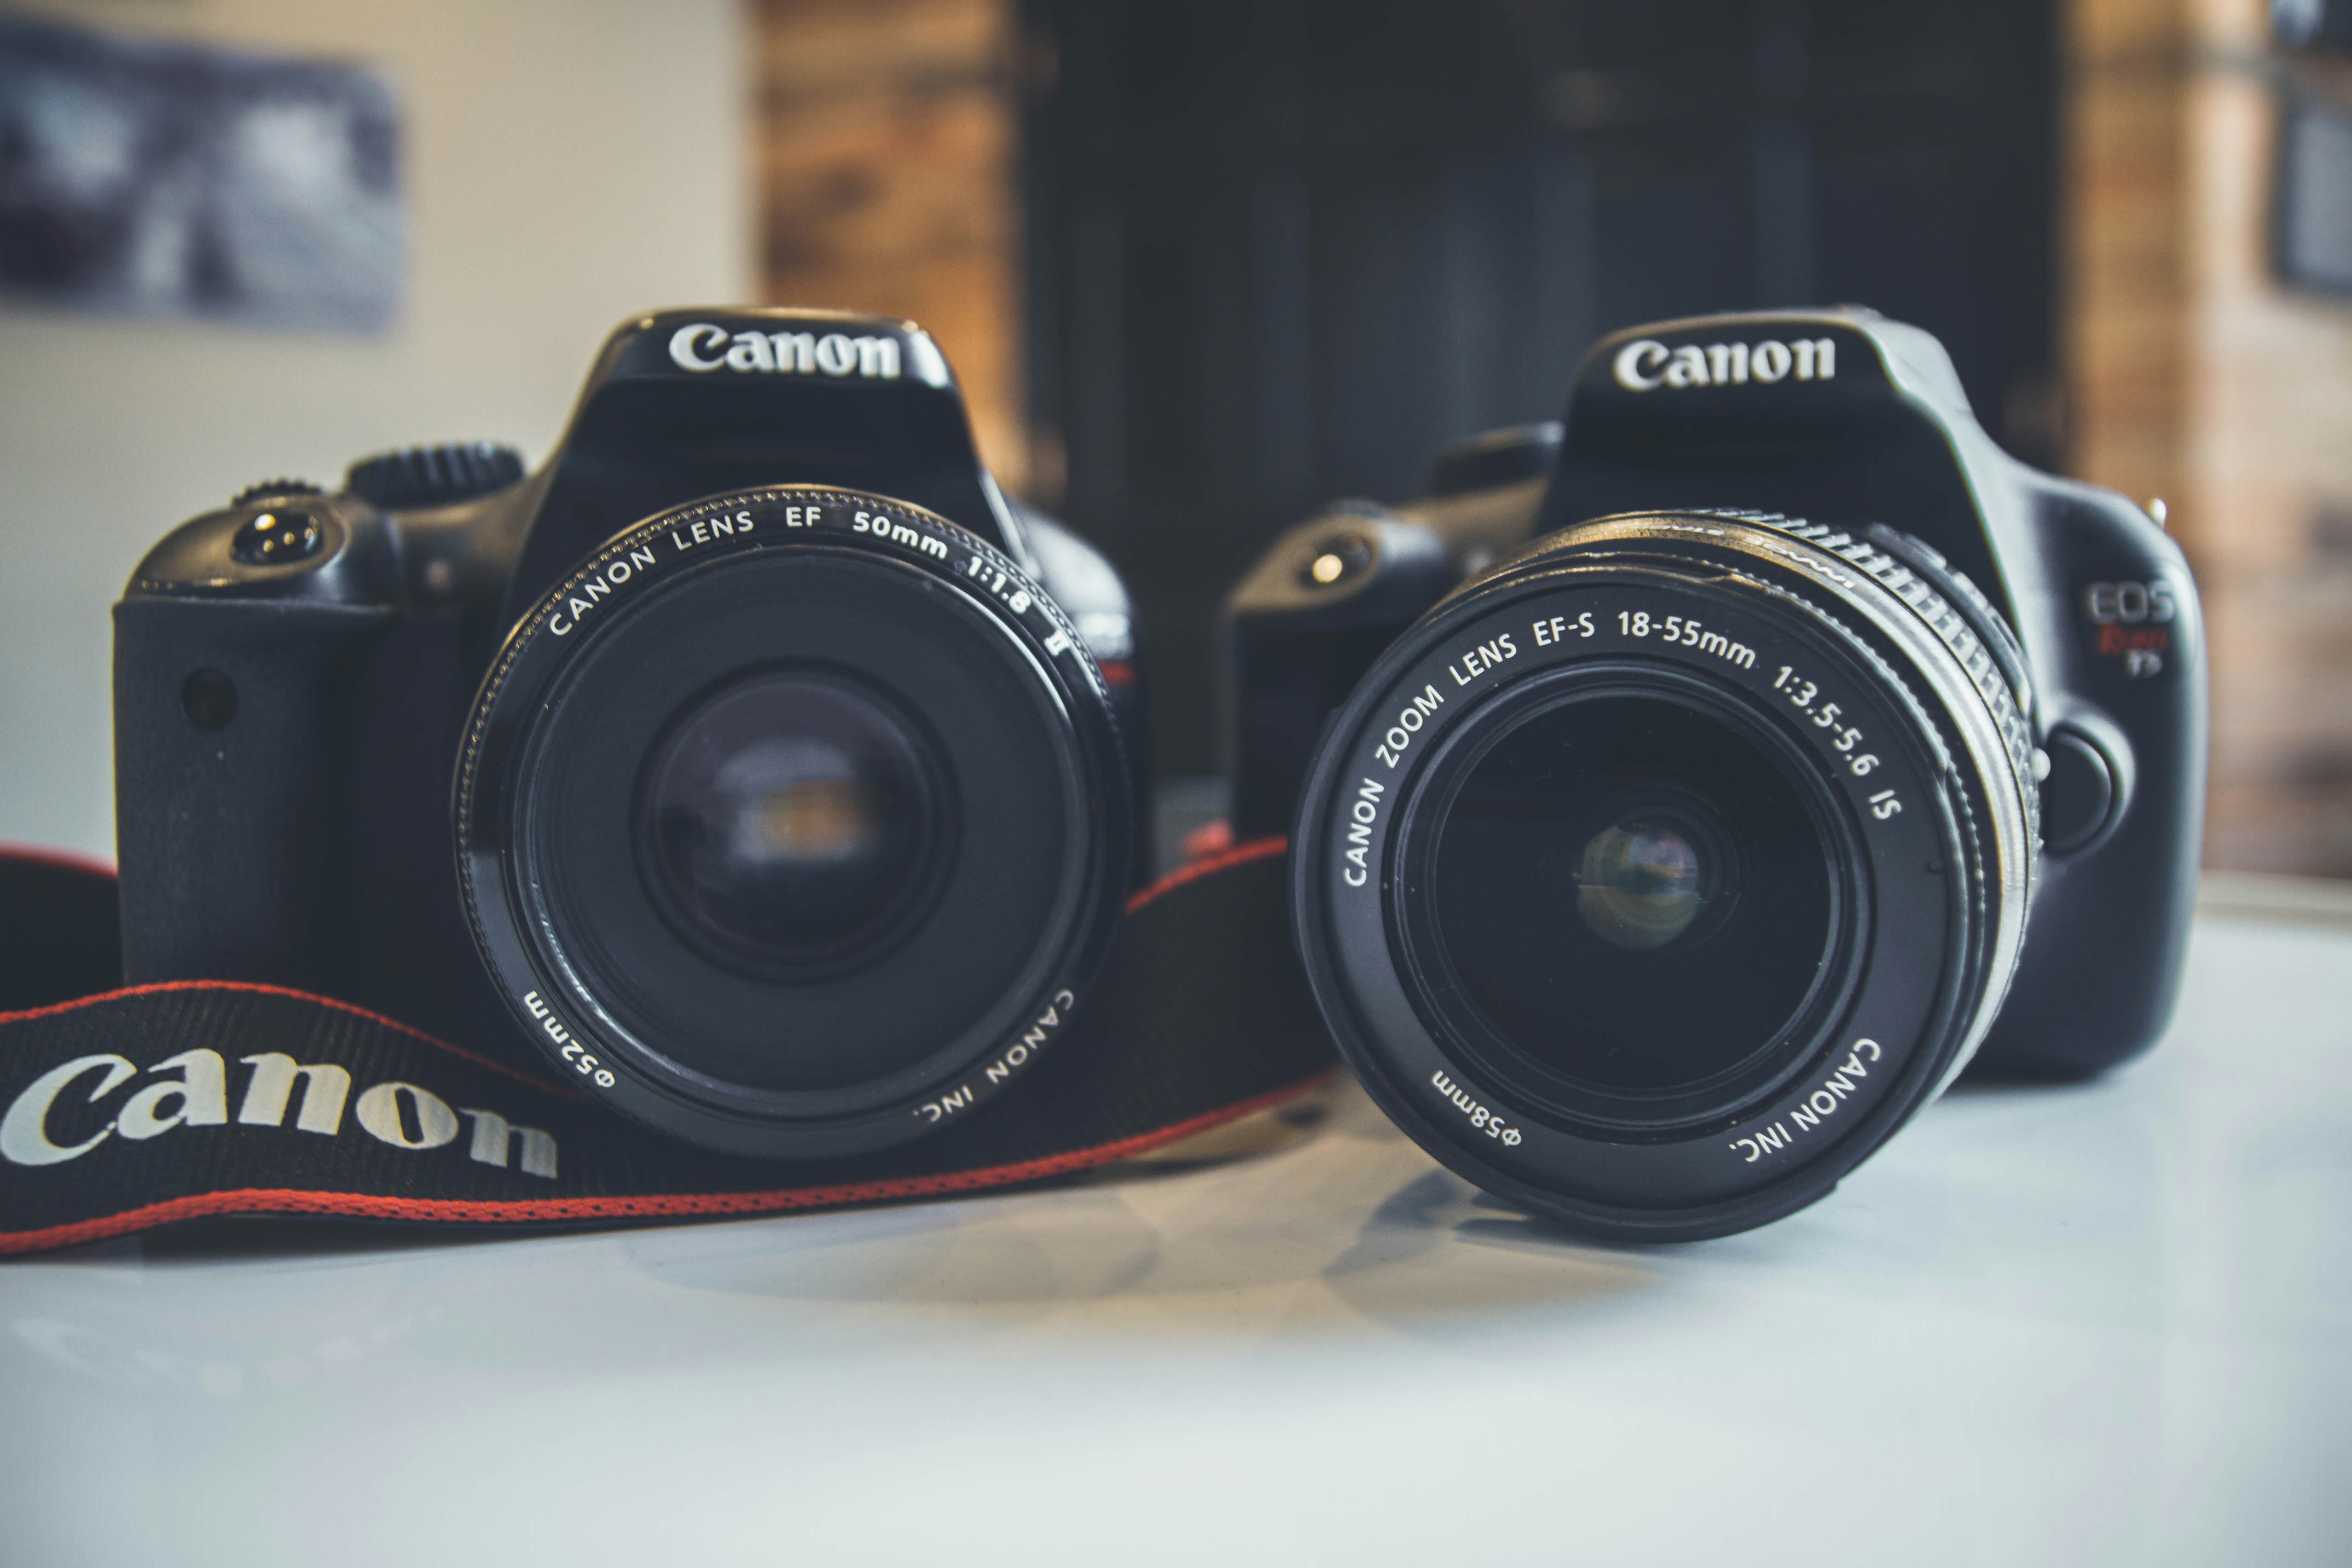
Then take out the Canon cleaner solution together with its wiping cloth. Put an appropriate amount of cleanser on the wiper cloth then lightly rub it over your sensory skin area; kindly do not put too much cleanser since this may damage inside parts of it at the same time avoid scratching your sensory through excessive pressure during the wiping process.
5. Check and dry
Subsequently after washing please carefully check if some dirt remains on the surface of the sensors or if water spots are left thereon in case the sensory surface is wet particular attention should be considered here are some actions recommended:
Immediately stop operation: If during cleaning you notice that your sensor skin surface is wet, then stop instantly all wipes or touches that may bring more problems.
Take dry lint-free cloth: Place a slight pressure on your sensory while using dry lint-free cloth (preferably made for cameras’ cleaning) to ensure extra moisture is absorbed. Be gentle without applying too much pressure which can cause scratches or damage.
Ensure a dust-free environment: Place the camera in a dust-free environment such as a camera cleaning box or clean room when drying. This keeps off the coming of dirt and other impurities that might stick on the sensor’s surface as it dries up.
Air drying: Allow the sensor to air dry. Using blow driers, radiators, or any other source of heat to dry it faster is not advisable since this will damage your sensor.
Recheck: After ensuring that the sensor is completely dry, check again if there is still moisture or stains left on it. In case need be one can repeat the above steps to do further cleansing.
6. Consult professionals
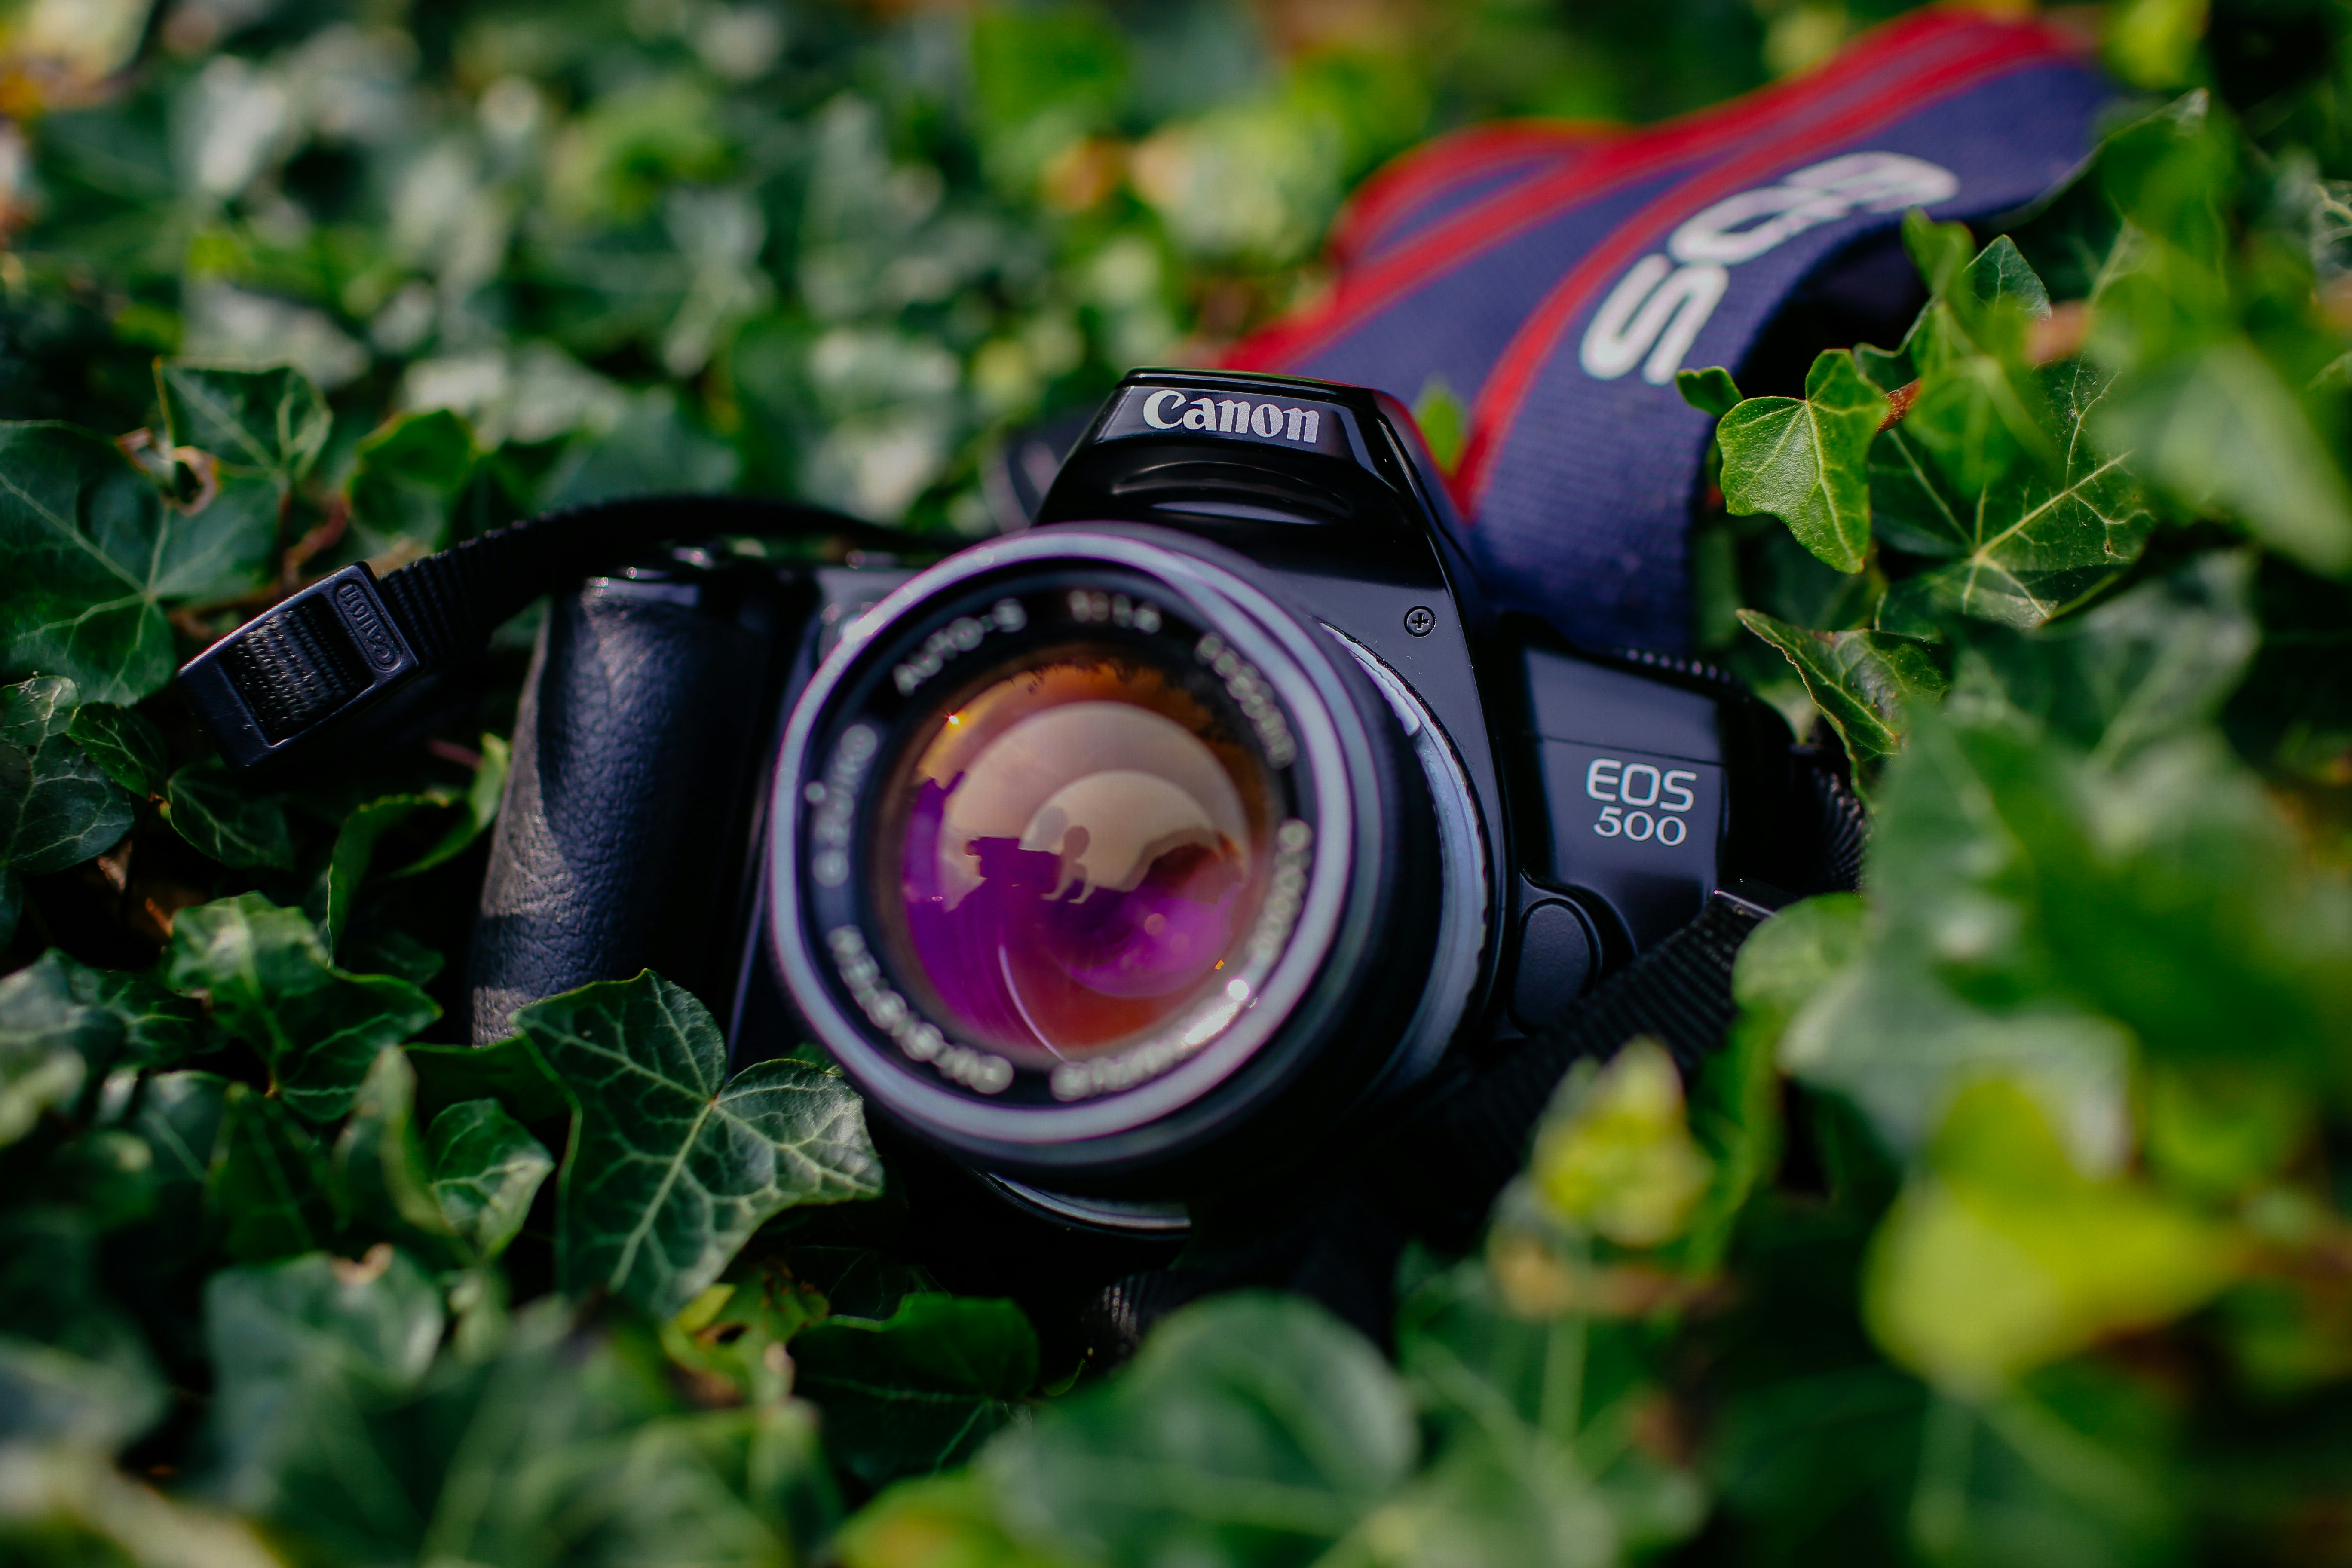
Advice could also be sought from an authorized Canon after-sales service center or expert photographer if the image sensors are still wet or have abnormal conduct.
7. Precautions
Never attempt to wipe dirt from the image sensor with a water house cleaner or just through water because this might cause damage to the sensor or internal circuitry of the camera. Always make sure that your camera remains stable and safe throughout the cleaning process to avoid crashing, falling, and necessary movement. In case you do not know how your camera is built inside or how it should be cleaned, see a specialist or contact official Canon after-sales service centers.
Canon image sensors can now be easily cleaned if one follows all of the above procedures. After its cleaning, allow your camera to shine again and capture more beautiful moments in life!

 EN
EN
 AR
AR
 DA
DA
 NL
NL
 FI
FI
 FR
FR
 DE
DE
 EL
EL
 HI
HI
 IT
IT
 JA
JA
 KO
KO
 NO
NO
 PL
PL
 PT
PT
 RO
RO
 RU
RU
 ES
ES
 SV
SV
 TL
TL
 IW
IW
 ID
ID
 SR
SR
 VI
VI
 HU
HU
 TH
TH
 TR
TR
 FA
FA
 MS
MS
 IS
IS
 AZ
AZ
 UR
UR
 BN
BN
 HA
HA
 LO
LO
 MR
MR
 MN
MN
 PA
PA
 MY
MY
 SD
SD

